顯示具有 nginx 標籤的文章。 顯示所有文章

星期日, 3月 15, 2020

nginx 使用 SSL 憑證 with openSUSE Leap 15.1 in Azure 小記

nginx 使用 SSL 憑證 with openSUSE Leap 15.1 in Azure 小記

OS: openSUSE Leap 15.1 in Azure

今天來嘗試讓 nginx 使用 https 方式連線
要使用 https 方式連線首先要有憑證, 那就來申請憑證吧 :)

申請 SSL 憑證

我是用  https://www.sslforfree.com/ 這個網站來取得
  • 他也是利用 Let's Encrypt 來讓使用者取得憑證

輸入自己管理的網域 -- > Create Free SSL Certificate


選取驗證的方式, 我是使用 DNS 的方式, 點選 Manual Verification(DNS)


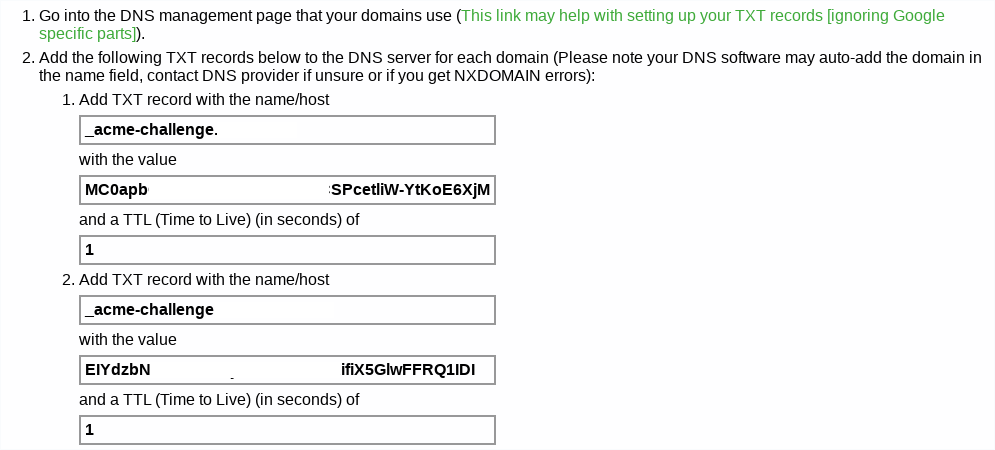
DNS 驗證的方式就是藉由新增 TXT 記錄來進行驗證 
-- > 點選 Manually Verify Domain

我 DNS 代管是使用 Gandi.net

按照上面的要求在 DNS 代管的網站新增兩筆 TXT Record

  • 如果要確認是否設定完成, 可以使用 host 指令
    • #host  -t txt  _acme-challenge.YOUR_DOMAIN

DNS 紀錄設定好之後

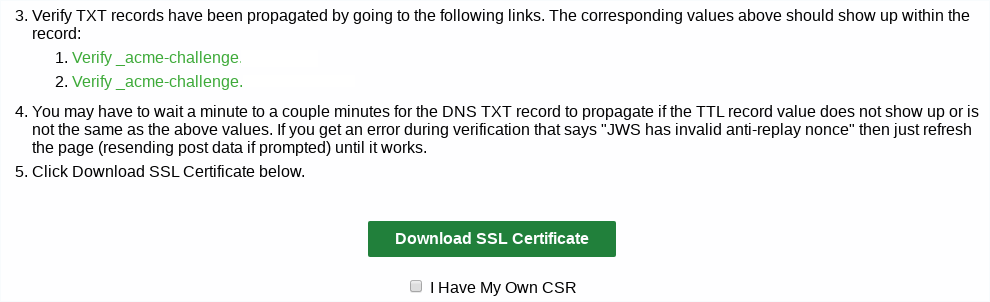
可以點選 Verify 的兩個連結觀察
  • Gandi 最小 TTL 值是 300 秒, 雖然他要求 1 秒的 TTL, 不過只要等 300 秒, 還是可以檢查 Value, 所以不影響

點選 Download SSL Certificate

如果剛剛的 DNS TXT 紀錄都有設定正確
就會出現 Certificate Successfully Generated 頁面
上面是說 SSL 憑證 90 天之後過期, 可以註冊帳號集中管理或是提醒到期, 這個部分就看個人
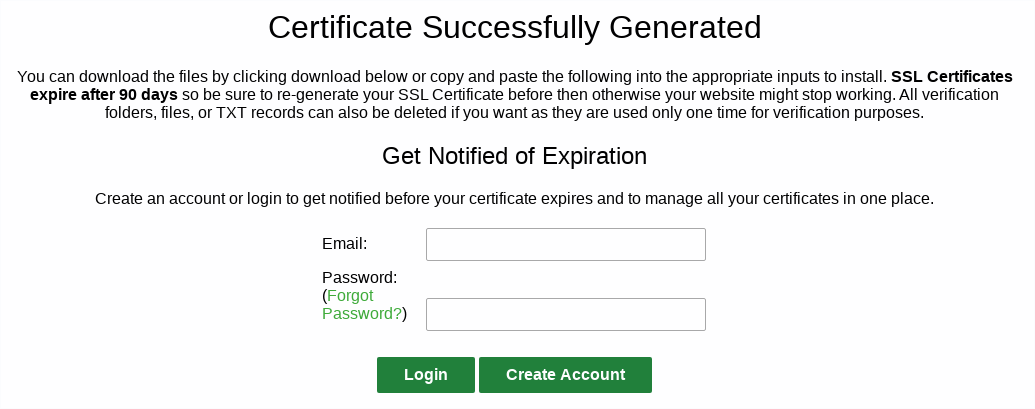
畫面中央有 Certificate Files
有相關檔案, 點選 Download All SSL Certificate Files 來下載 SSL 憑證檔案

這個時候會下載一個 sslforfree.zip 的檔案, 裡面包含 3 個檔案
  • ca_bundle.crt - 中繼憑證
  • certificate.crt - 公鑰
  • private.key - 私鑰

SSL 憑證格式的資訊如果想要進一步了解, 可以參考保哥的文章

接下來可以參考網站提供的安裝文件 https://www.sslforfree.com/#tutorials
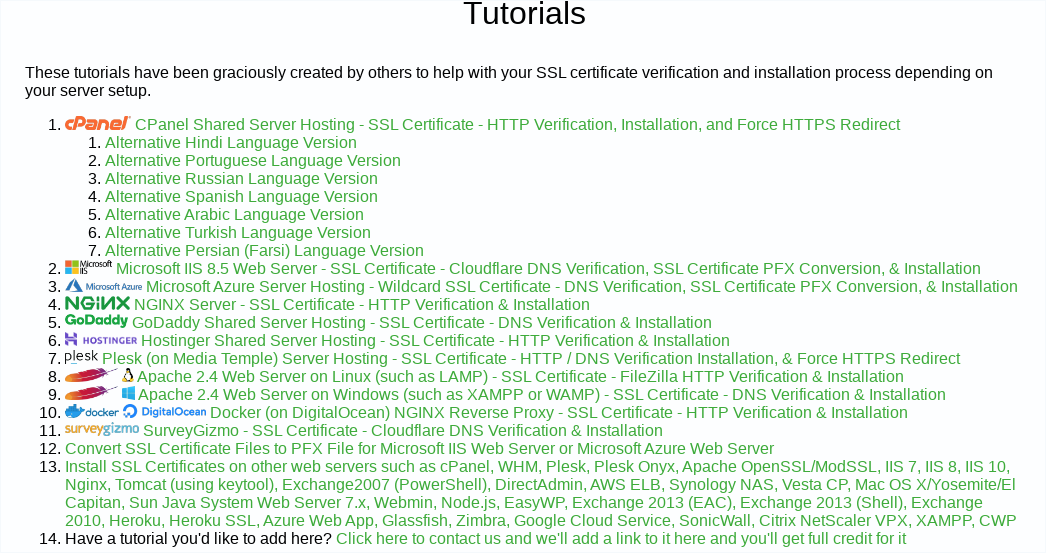

這邊就根據自己的平臺以及伺服器來選擇

我使用 nginx
為了管理方便我在 /etc/nginx 目錄下建立一個 ssl  目錄

# mkdir  /etc/nginx/ssl

將上面的 3 個檔案上傳到 伺服器上面 /etc/nginx/ssl 目錄下
  • ca_bundle.crt - 中繼憑證
  • certificate.crt - 公鑰
  • private.key - 私鑰

將 公鑰與中繼憑證合併

# cat   /etc/nginx/ssl/certificate.crt  > /etc/nginx/ssl/your_domain.crt
# printf  "\n"  >>  /etc/nginx/ssl/your_domain.crt 
# cat   /etc/nginx/ssl/ca_bundle.crt  >>  /etc/nginx/ssl/your_domain.crt

  • 這邊注意第一個指令是用 > 輸出導向, 然後後面是用 >>  附加的方式
  • certificate.crt 以及 ca_bundle.crt 順序要注意 

修改 nginx 設定檔
# vim  /etc/nginx/nginx.conf

worker_processes  1;
events {
    worker_connections  1024;
    use epoll;
}
http {
    include       mime.types;
    default_type  application/octet-stream;
    sendfile        on;
    keepalive_timeout  65;
    include conf.d/*.conf;
    server {
        listen       80;
        listen       443 ssl;
        server_name  YOUR_DOMAIN;
        ssl_certificate      /etc/nginx/ssl/your_domin.crt;
        ssl_certificate_key  /etc/nginx/ssl/private.key;
        location / {
            root   /srv/www/htdocs/;
            index  index.html index.htm;
        }
        error_page   500 502 503 504  /50x.html;
        location = /50x.html {
            root   /srv/www/htdocs/;
        }
    }
    
    include vhosts.d/*.conf;
}

  • 加入上面紅色部分

將 nginx 服務 reload

# systemctl   reload   nginx

因為是走 HTTPS, 所以記得要開 port 443 

在 Azure 該 VM 的網路設定內, 點選 新增輸入連接埠規則,設定 port 443 可以連線

開啟瀏覽器, 輸入 https://YOUR_DOMAIN
就可以看到可愛的鎖頭符號了


又往 nginx 前進一步了 :)

~ enjoy it


Reference:

星期五, 2月 28, 2020

nginx with openSUSE Leap 15.1 in Azure 小記 Part 2

nginx with openSUSE Leap 15.1 in Azure 小記 Part 2

OS: openSUSE Leap 15.1 in Azure
Nginx: 1.14.2

上次練習 nginx 靜態網頁以及 proxy, 今天來實驗 HTTP Load Balancing

架構想法如下


實驗環境
OS: openSUSE Leap 15.1 in Azure x 3 VM
  • 前面有 1 台 openSUSE Leap 15.1 執行 nginx 
  • 後面有 2 台 openSUSE Leap 15.1 使用 container 執行 Web 服務

參考上次的文章

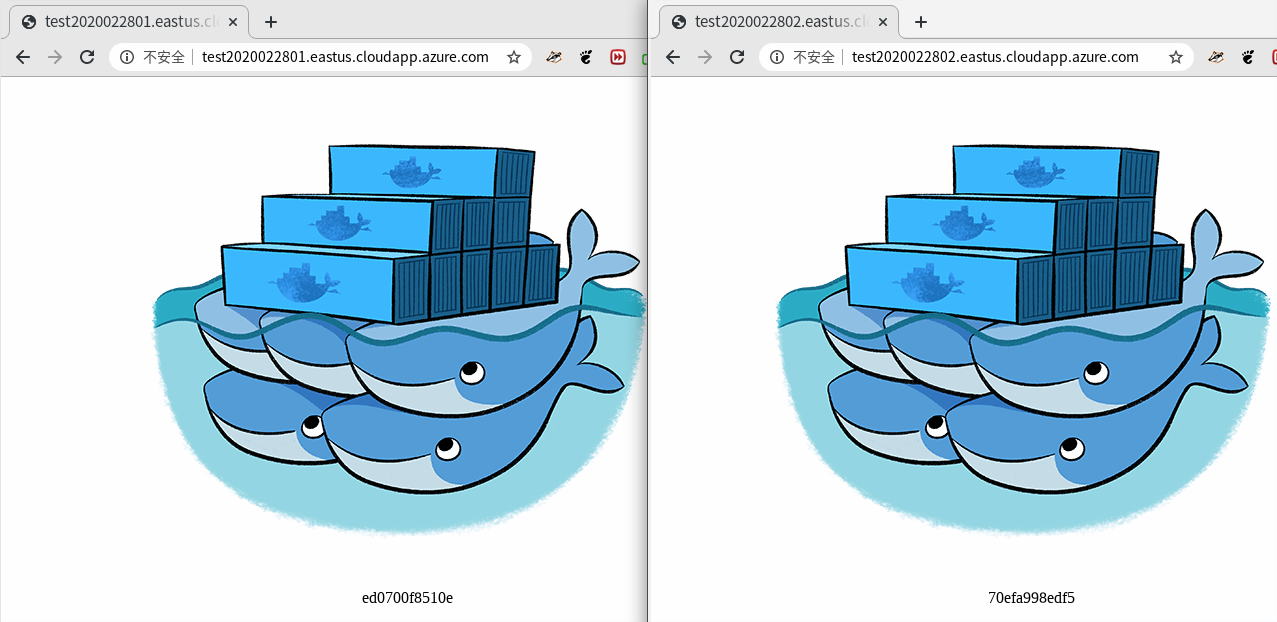
首先建立 2 台 openSUSE Leap 15.1 in Azure, 執行以下動作
  • 啟動 docker 服務
    • # systemctl  start docker
  • 執行 container 然後 port 開在 80
    • # docker  run -d -p  80:80 russmckendrick/cluster
  • Azure 該 VM 的網路設定內, 設定 port 80 可以連線
  • 設定該 VM DNS 名稱
  • 確認都可以進行存取


建立 1 台 openSUSE Leap 15.1 in Azure, 執行以下動作
  • 使用 zypper 指令 安裝 nginx
    • # zypper  install  nginx
  • 啟動 nginx 服務
    • # systemctl start nginx
    • # systemctl  enable  nginx
  • 設定 DNS 名稱

上面的動作前一篇文章就已經有了, 所以不贅述

接下來進行 HTTP Load Balancing 實驗

修改 nginx 設定檔

# vi   /etc/nginx/nginx.conf

worker_processes  1;
events {
    worker_connections  1024;
    use epoll;
}
http {
    include       mime.types;
    default_type  application/octet-stream;
    sendfile        on;
    keepalive_timeout  65;
    include conf.d/*.conf;
    upstream backend {
            server test2020022801.eastus.cloudapp.azure.com;
            server test2020022802.eastus.cloudapp.azure.com;
    }
    server {
        listen       80;
        server_name  localhost;
        location / {
            root   /srv/www/htdocs/;
            index  index.html index.htm;
            proxy_pass http://backend;
        }
        error_page   500 502 503 504  /50x.html;
        location = /50x.html {
            root   /srv/www/htdocs/;
        }
    }
    
    include vhosts.d/*.conf;
}

  • 新增 upstream backend 區段, 指向剛剛建立的 2 台 Web 服務
  • 新增 proxy_pass 指向 http://backend

善用 #nginx -t 檢查語法
  • 一開始是寫獨立的 http 區段, 結果就被警告 http 重複設定

將服務 reload 

# systemctl  reload  nginx

進行測試
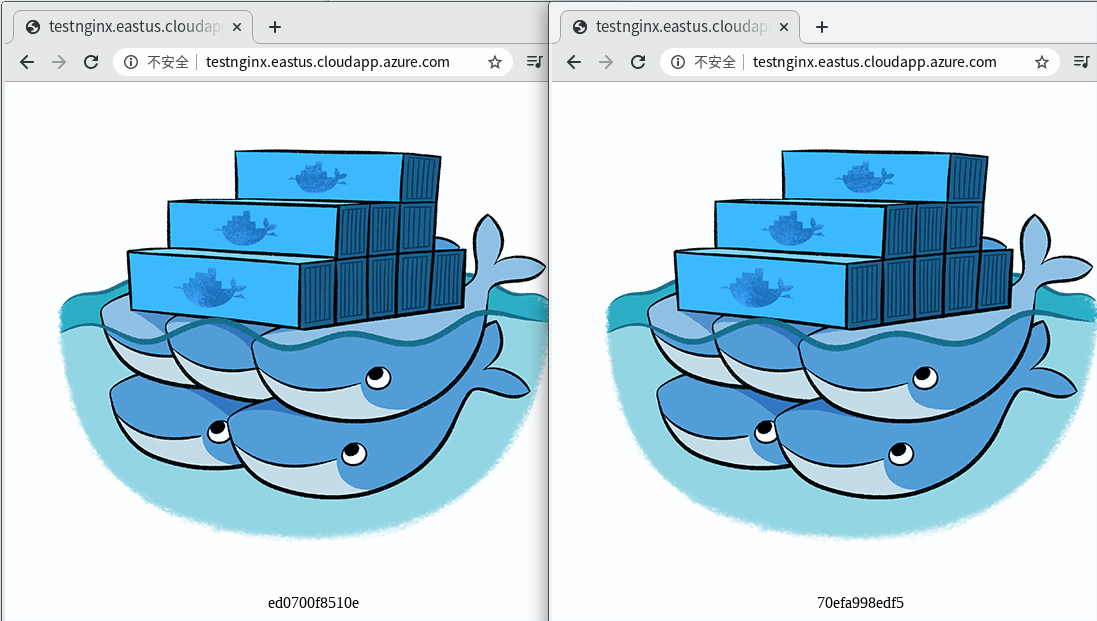
在瀏覽器開啟 http://testnginx.eastus.cloudapp.azure.com


  • 確認會導向後端不同的 Web 服務

Load Balancing 的方式有 6 種
  • Nginx open source 支援其中4種, nginx plus 支援 6 種
    • Round Robin ( 預設 )
    • Least Connections
    • IP Hash
    • Generic Hash
    • Least Time ( NGINX Plus only )
    • Random

接下來多實驗一個設定 Server Weight

剛剛有提到, 預設使用 Round Robin 方式將連線平均的分配到後端的服務
那如果 VM 他的規格大小不一樣, 或是想要測試金絲雀佈署這樣的改版測試呢?

這個時候考慮使用 Server Weight 權重方式來因應

修改 nginx 設定檔

# vi   /etc/nginx/nginx.conf

worker_processes  1;
events {
    worker_connections  1024;
    use epoll;
}
http {
    include       mime.types;
    default_type  application/octet-stream;
    sendfile        on;
    keepalive_timeout  65;
    include conf.d/*.conf;
    upstream backend {
           server test2020022801.eastus.cloudapp.azure.com weight=3;
           server test2020022802.eastus.cloudapp.azure.com;
    }
    server {
        listen       80;
        server_name  localhost;
        location / {
            root   /srv/www/htdocs/;
            index  index.html index.htm;
            proxy_pass http://backend;
        }
        error_page   500 502 503 504  /50x.html;
        location = /50x.html {
            root   /srv/www/htdocs/;
        }
    }
    
    include vhosts.d/*.conf;
}

  • 針對剛剛後端服務其中一台設定 weight=3
    • 沒有設定的話, 權重設定預設是 1, 目前有 2 台機器服務, 所以總共是 3 + 1 = 4, 也就是說 test2020022801 被存取的次數就會佔 3/4 ( 75% ), 另外一台是 1/4 ( 25% )

將服務 reload 

# systemctl  reload  nginx

進行測試
在瀏覽器開啟 http://testnginx.eastus.cloudapp.azure.com

  • 觀察 2 台機器服務的顯示比例

這樣算是朝向 nginx 的一小步  :)

~ enjoy it


Reference