使用 AWS Cloudwatch 通知 IAM 新增使用者小記
想法: 如果新增 IAM 使用者, 系統管理者會收到通知
架構圖如下

- 建立 CloudTrail 的 Trail , 使用 CloudWatch 的 Event Rule 監控 IAM 的 API call: CreateUser, 利用 SNS 發e-mail 通知管理者
- 因為要以 IAM 服務爲 Event Rule 服務類型, 以及 SNS 要進行通知, 所以 CloudWatch 與 SNS 的 Region 要設定在 N.Virginia ( us-east-1 )
- 優點
- IAM 新增使用者可以即時通知到管理者
- 缺點
- CloudTrail 可能會產生費用
- SNS Notify email 未必很直覺
開始進行實作
登入 AWS console
建立 CloudTrail
在 AWS Console 點選 Services -- > 輸入或是搜尋 CloudTrail 找到 CloudTrail 服務並點選

Region 的部分因為 SNS 與後面的 CloudWatch 都會在 N.Virginia , 所以我 Region 也選 N.Virginia
點選左方選單的 Trails -- > 點選 Create trail

輸入 Trail 名稱
其他的部分保持預設
- Apply trail to all regions: Yes
- Read/Write events: All
- Log AWS KMS events: Yes
- Data Events: 保持沒有勾選
Storage location
- 輸入要新增的 S3 bucket 名稱
點選 Create 建立


建立 SNS Topic
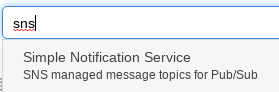
在 AWS Console 點選 Services -- > 輸入或是搜尋 SNS 找到 Amazon SNS 服務並點選
Region 的部分選 N.Virginia
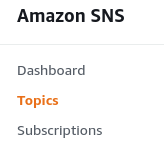
在 Amazon SNS 點選左側的 Topics
點選 Create Topic
輸入 Topic 名稱 -- > Create topic

建立 Topic 完成之後, 在該頁面點選 Create subscription

因為是在該 Topic 建立 Subscription, 所以 Topic ARN 就會自動被帶入
Protocol 的部分選擇 Email
Endpoint 輸入要通知的 email
點選 Create subscription

接下來到信箱確認訂閱

建立 CloudWatch Event
點選 Services -- > 搜尋 cloudwatch 進入 Cloudwatch 服務

Region 的部分選 N.Virginia
點選左方選單的 Rules

點選 Create rule
Service Name: 選取 IAM
Event Type: 選取 AWS API Call via CloudTrail
點選 Specific operations(s)
輸入 CreateUser

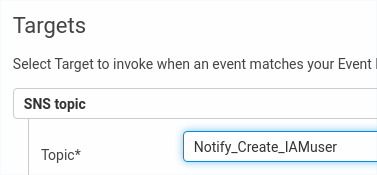
右方的 Targets
點選 Add target*

下拉式選單: 選取 SNS topic
Topic: 選取剛剛建立的 topic
點選 Configure details
輸入 Rule 名稱
點選 Create rule

這樣就完成設定
接下來嘗試在 IAM 建立使用者, 就會收到 SNS 寄來的通知

這樣算是多前進了一步, 但是考量到收費問題, 後續也有可能使用 aws cli 或是 python boto3 的方式來進行
向 AWS 前進一小步
~ enjoy it
Reference: