EasyRTC install log
Date: 20130103
OS: openSUSE 12.2
參考 https://github.com/priologic/easyrtc/blob/master/docs/easyrtc_installing.md
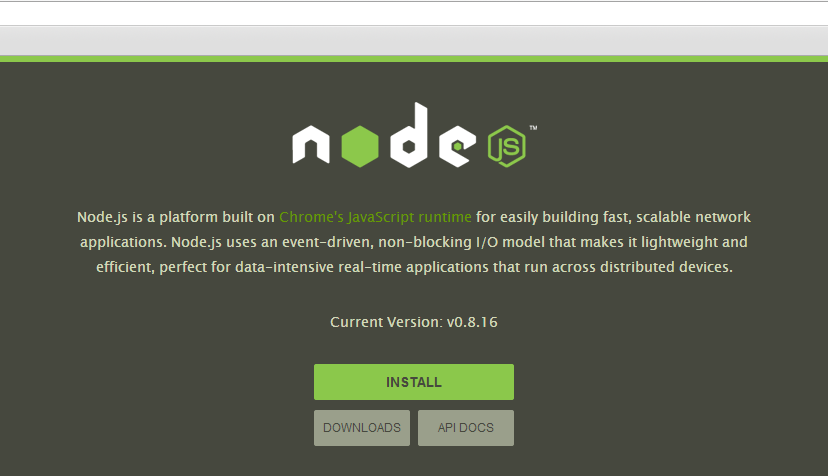
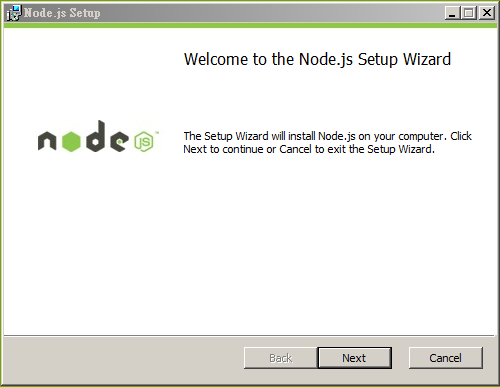
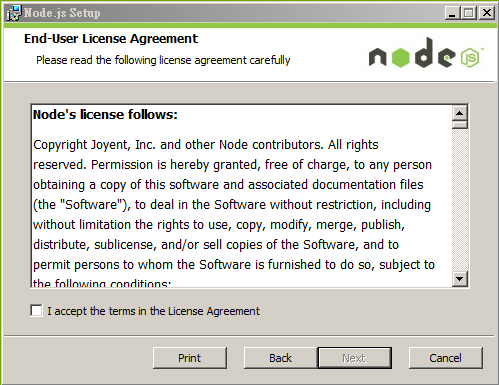
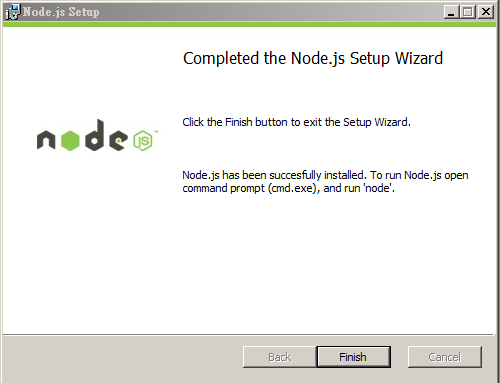
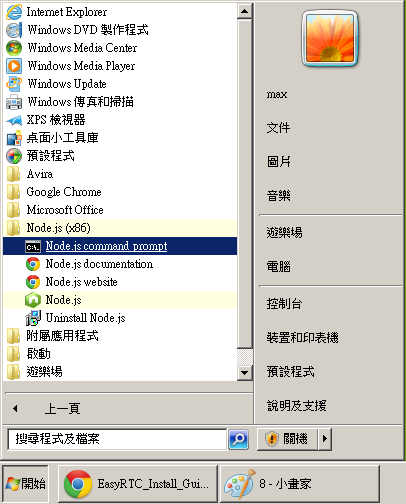
透過 One Click install 安裝 nodejs nodejs-devel
#OneClickInstallCLI http://software.opensuse.org/ymp/openSUSE:12.2/standard/nodejs.ymp
#zypper install nodejs-devel
建立相關目錄
# mkdir -p /var/nodes/easyrtc
確認 www (apache)執行使用者
# grep www /etc/passwd
wwwrun:x:30:8:WWW daemon apache:/var/lib/wwwrun:/bin/false
將相關目錄(/var/nodes/easyrtc)更改擁有人為 wwwrun (調整權限)
# ls -ld /var/nodes/easyrtc/
drwxr-xr-x 2 root root 4096 Jan 3 11:06 /var/nodes/easyrtc/
# chown wwwrun /var/nodes/easyrtc/
# ls -ld /var/nodes/easyrtc/
drwxr-xr-x 2 wwwrun root 4096 Jan 3 11:06 /var/nodes/easyrtc/
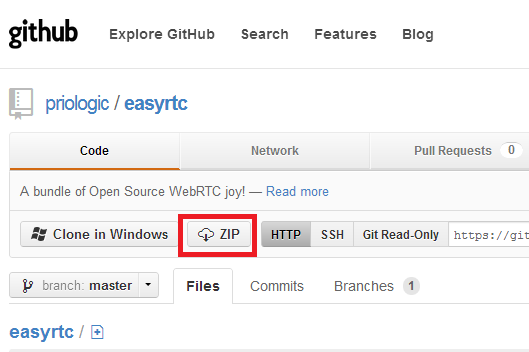
下載 EasyRTC 套件
# cd /root
# wget https://github.com/priologic/easyrtc/archive/master.zip
解壓縮 EasyRTC 套件
# unzip master.zip
將解壓縮的套件移到 相關目錄(/var/nodes/easyrtc)
# mv /root/easyrtc-master/ /var/nodes/easyrtc/
切換到解壓縮的目錄
# cd /var/nodes/easyrtc/easyrtc-master
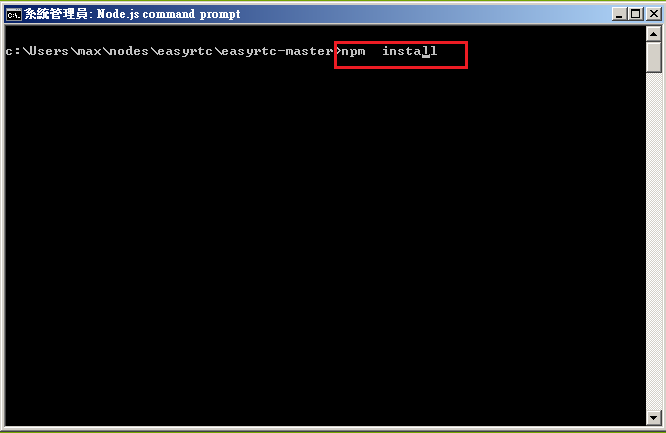
執行安裝
#npm install
還沒有啟動前, 觀察一下 netstat
# netstat -tupln
Active Internet connections (only servers)
Proto Recv-Q Send-Q Local Address Foreign Address State PID/Program name
tcp 0 0 0.0.0.0:22 0.0.0.0:* LISTEN 2023/sshd
tcp 0 0 127.0.0.1:631 0.0.0.0:* LISTEN 2731/cupsd
tcp 0 0 0.0.0.0:58265 0.0.0.0:* LISTEN 2658/gnome-session
tcp 0 0 127.0.0.1:25 0.0.0.0:* LISTEN 2607/master
tcp 0 0 :::22 :::* LISTEN 2023/sshd
tcp 0 0 :::631 :::* LISTEN 1/init
tcp 0 0 ::1:25 :::* LISTEN 2607/master
tcp 0 0 :::37755 :::* LISTEN 2658/gnome-session
udp 0 0 0.0.0.0:5353 0.0.0.0:* 452/avahi-daemon: r
udp 0 0 0.0.0.0:57592 0.0.0.0:* 452/avahi-daemon: r
udp 0 0 0.0.0.0:631 0.0.0.0:* 1/init
udp 0 0 :::59115 :::* 452/avahi-daemon: r
udp 0 0 :::5353 :::* 452/avahi-daemon: r
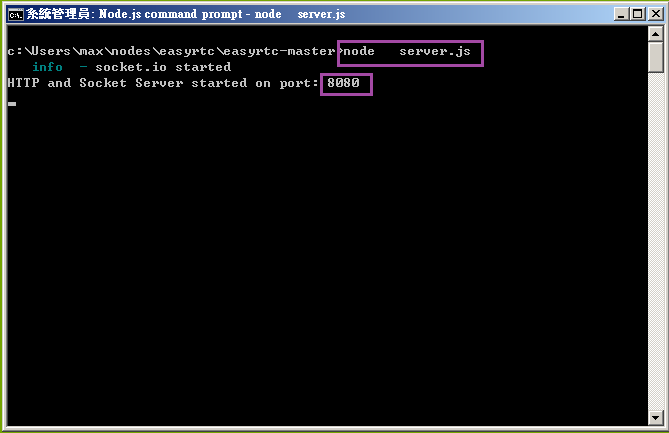
啟動 EasyRTC
#node server.js
啟動完之後觀察 netstat
# netstat -tupln
Active Internet connections (only servers)
Proto Recv-Q Send-Q Local Address Foreign Address State PID/Program name
tcp 0 0 0.0.0.0:8080 0.0.0.0:* LISTEN 11035/node
tcp 0 0 0.0.0.0:22 0.0.0.0:* LISTEN 2023/sshd
tcp 0 0 127.0.0.1:631 0.0.0.0:* LISTEN 2731/cupsd
tcp 0 0 0.0.0.0:58265 0.0.0.0:* LISTEN 2658/gnome-session
tcp 0 0 127.0.0.1:25 0.0.0.0:* LISTEN 2607/master
tcp 0 0 :::22 :::* LISTEN 2023/sshd
tcp 0 0 :::631 :::* LISTEN 1/init
tcp 0 0 ::1:25 :::* LISTEN 2607/master
tcp 0 0 :::37755 :::* LISTEN 2658/gnome-session
udp 0 0 0.0.0.0:5353 0.0.0.0:* 452/avahi-daemon: r
udp 0 0 0.0.0.0:57592 0.0.0.0:* 452/avahi-daemon: r
udp 0 0 0.0.0.0:631 0.0.0.0:* 1/init
udp 0 0 :::59115 :::* 452/avahi-daemon: r
udp 0 0 :::5353 :::* 452/avahi-daemon: r
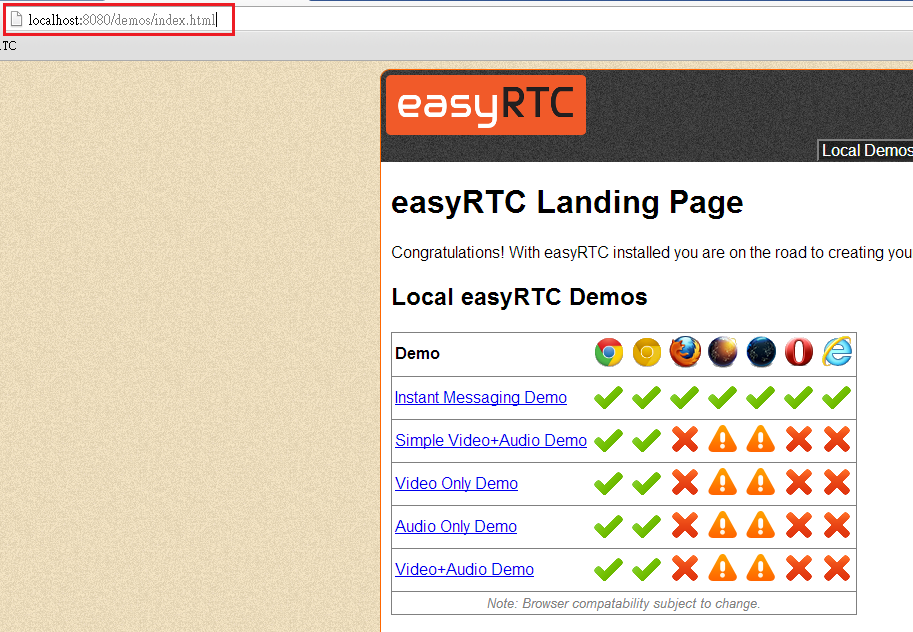
測試結果 Okay
=====================================================================
Date: 20130103
OS: openSUSE 12.2
參考 https://github.com/priologic/easyrtc/blob/master/docs/easyrtc_installing.md
透過 One Click install 安裝 nodejs nodejs-devel
#OneClickInstallCLI http://software.opensuse.org/ymp/openSUSE:12.2/standard/nodejs.ymp
#zypper install nodejs-devel
建立相關目錄
# mkdir -p /var/nodes/easyrtc
確認 www (apache)執行使用者
# grep www /etc/passwd
wwwrun:x:30:8:WWW daemon apache:/var/lib/wwwrun:/bin/false
將相關目錄(/var/nodes/easyrtc)更改擁有人為 wwwrun (調整權限)
# ls -ld /var/nodes/easyrtc/
drwxr-xr-x 2 root root 4096 Jan 3 11:06 /var/nodes/easyrtc/
# chown wwwrun /var/nodes/easyrtc/
# ls -ld /var/nodes/easyrtc/
drwxr-xr-x 2 wwwrun root 4096 Jan 3 11:06 /var/nodes/easyrtc/
下載 EasyRTC 套件
# cd /root
# wget https://github.com/priologic/easyrtc/archive/master.zip
解壓縮 EasyRTC 套件
# unzip master.zip
將解壓縮的套件移到 相關目錄(/var/nodes/easyrtc)
# mv /root/easyrtc-master/ /var/nodes/easyrtc/
切換到解壓縮的目錄
# cd /var/nodes/easyrtc/easyrtc-master
執行安裝
#npm install
還沒有啟動前, 觀察一下 netstat
# netstat -tupln
Active Internet connections (only servers)
Proto Recv-Q Send-Q Local Address Foreign Address State PID/Program name
tcp 0 0 0.0.0.0:22 0.0.0.0:* LISTEN 2023/sshd
tcp 0 0 127.0.0.1:631 0.0.0.0:* LISTEN 2731/cupsd
tcp 0 0 0.0.0.0:58265 0.0.0.0:* LISTEN 2658/gnome-session
tcp 0 0 127.0.0.1:25 0.0.0.0:* LISTEN 2607/master
tcp 0 0 :::22 :::* LISTEN 2023/sshd
tcp 0 0 :::631 :::* LISTEN 1/init
tcp 0 0 ::1:25 :::* LISTEN 2607/master
tcp 0 0 :::37755 :::* LISTEN 2658/gnome-session
udp 0 0 0.0.0.0:5353 0.0.0.0:* 452/avahi-daemon: r
udp 0 0 0.0.0.0:57592 0.0.0.0:* 452/avahi-daemon: r
udp 0 0 0.0.0.0:631 0.0.0.0:* 1/init
udp 0 0 :::59115 :::* 452/avahi-daemon: r
udp 0 0 :::5353 :::* 452/avahi-daemon: r
啟動 EasyRTC
#node server.js
啟動完之後觀察 netstat
# netstat -tupln
Active Internet connections (only servers)
Proto Recv-Q Send-Q Local Address Foreign Address State PID/Program name
tcp 0 0 0.0.0.0:8080 0.0.0.0:* LISTEN 11035/node
tcp 0 0 0.0.0.0:22 0.0.0.0:* LISTEN 2023/sshd
tcp 0 0 127.0.0.1:631 0.0.0.0:* LISTEN 2731/cupsd
tcp 0 0 0.0.0.0:58265 0.0.0.0:* LISTEN 2658/gnome-session
tcp 0 0 127.0.0.1:25 0.0.0.0:* LISTEN 2607/master
tcp 0 0 :::22 :::* LISTEN 2023/sshd
tcp 0 0 :::631 :::* LISTEN 1/init
tcp 0 0 ::1:25 :::* LISTEN 2607/master
tcp 0 0 :::37755 :::* LISTEN 2658/gnome-session
udp 0 0 0.0.0.0:5353 0.0.0.0:* 452/avahi-daemon: r
udp 0 0 0.0.0.0:57592 0.0.0.0:* 452/avahi-daemon: r
udp 0 0 0.0.0.0:631 0.0.0.0:* 1/init
udp 0 0 :::59115 :::* 452/avahi-daemon: r
udp 0 0 :::5353 :::* 452/avahi-daemon: r
測試結果 Okay
=====================================================================