GCP Security Command Center 設定小記
今天來寫 GCP 的 SCC ( Security Command Center )
SCC 是Google 的一站式資安管理平台, 相關介紹可以參考官網
Security Command Center 提供兩種服務層級:標準級與進階級,以及兩個啟用層級,以及專案層級啟用與機構層級啟用。
這次的實驗是採用
機構層級 與 標準級服務( Standard )
好處是標準級服務是免費
首先要來處理機構 ( organization ) 的部分
如果是個人使用 GCP, 建立的專案應該都會被歸類在 No Organiation 下
機構的部分使用自己的 Domain 註冊 Cloud Identity 免費版 ( 50 個帳號內 )
https://support.google.com/cloudidentity/answer/7389973?hl=zh-Hant
email 的部份使用 gandi.net 附贈的信箱服務
因為要參與 GCP 的專案要收信接受邀請
Notes
GCP 上面應該只能同時有一個組織, 所以如果已經有組織, 想要讓無租織的專案移轉到其他的組織, 就要在 IAM 賦予權限, 然後讓其他人進行專案移轉
設定好機構後, 就來準備啟用 SCC
搜尋 Security Command Center -- > 點選 Overview
會先選取計劃別
選取 Standard -- > NEXT

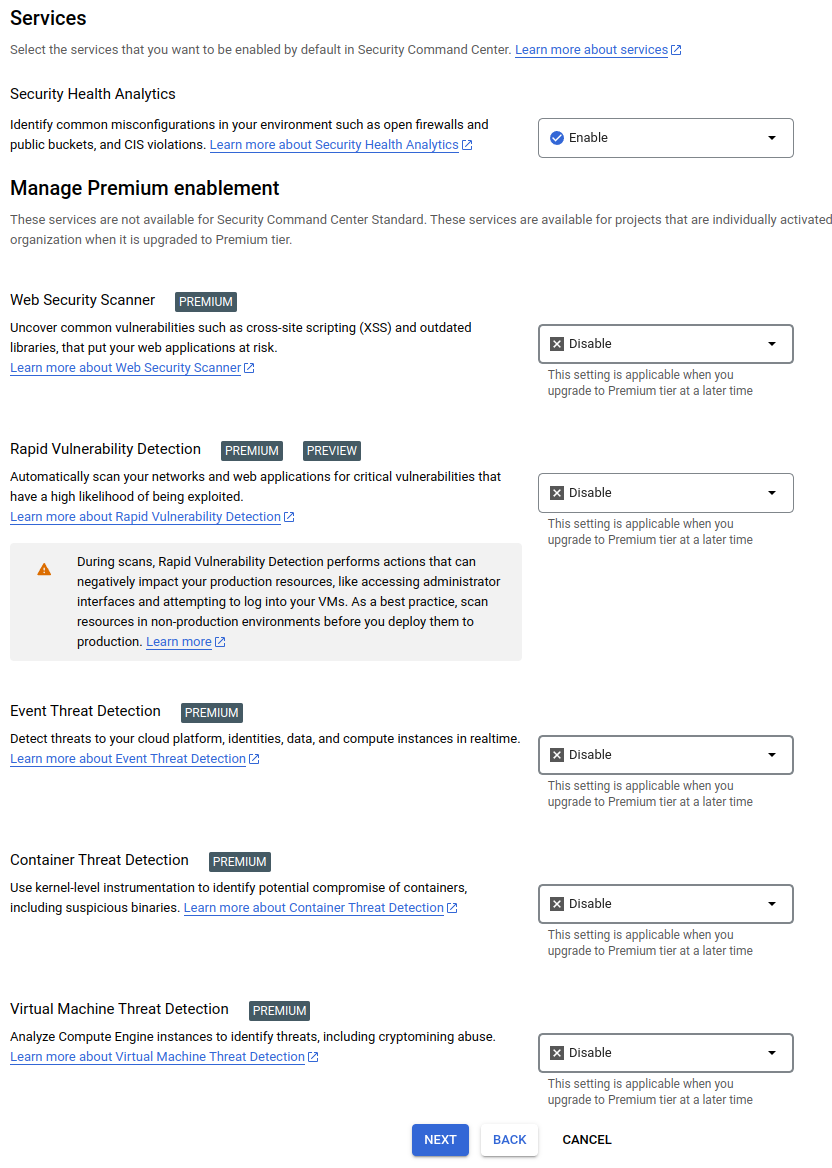
Services 的部份
我先把 PREMIUM 的部份先 Disable -- > NEXT
Grant Permissions
點選 GRANT ROLES 賦予權限
點選 NEXT

完成 SCC 啟用設定
點選 FINISH

正式進入 Overview 畫面

以上, 設定的部分大功告成
分析相關告警的部分需要幾個小時的時間, 告警的部分另外再寫文章
今天先這樣
~ Enjoy it
References:
Microfusion Partner 幫忙