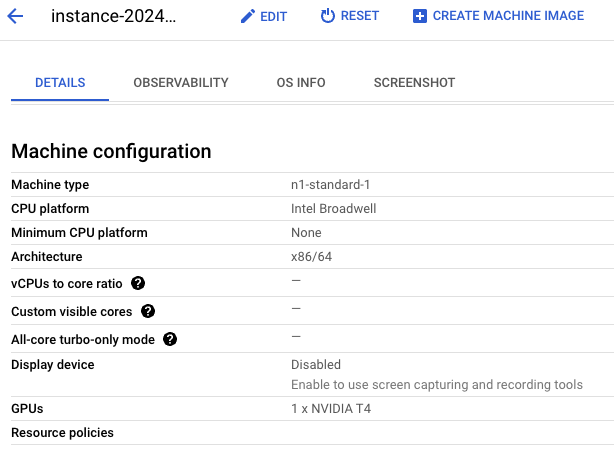
NeuVector in GKE 小記
Helm: 3.16.1
NeuVector: 5.4.0
GKE
之前在分享 GKE 的時候有說過現在有 GKE 與 GKE Enterprise
GKE 的 Security Posture 就是 GKE Enterprise 的其中一個功能, 他會確認相關的一些資安風險與檢查 Vulnerability
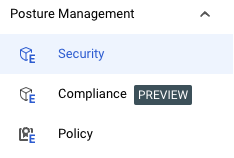
那如果暫時不是要使用 GKE Enterprise 的所有功能, 只是想要確認 K8 或是 container 的檢查?
這次就來 Lab NeuVector
取一下 Gemini 對 NeuVector 的說明

開始動手吧
參考文件 https://open-docs.neuvector.com/
Helm 指令小記可以參考之前的文章
使用 helm search 的時候, 會有 URL 沒有辦法完整顯示的狀況
> helm search hub neuvector
URL CHART VERSION APP VERSION DESCRIPTION
https://artifacthub.io/packages/helm/lifen/neuv... 1.5.2 3.2.1 NeuVector Full Lifecycle Container Security Pla...
https://artifacthub.io/packages/helm/lifen-char... 1.5.2 3.2.1 NeuVector Full Lifecycle Container Security Pla...
https://artifacthub.io/packages/helm/test-rainb... 5.0.0 5 Helm chart for NeuVector's core services
https://artifacthub.io/packages/helm/neuvectorc... 2.8.0 5.4.0 Helm chart for NeuVector's core services
https://artifacthub.io/packages/helm/neuvectorc... 2.8.0 5.4.0 Helm chart for NeuVector's CRD services
https://artifacthub.io/packages/helm/neuvectorc... 2.8.0 1-1.0.0 Helm chart for NeuVector monitor services
https://artifacthub.io/packages/helm/test-rainb... 2.2.0-b1 5.0.0-b1 Helm chart for NeuVector's core services
這邊找到一個方式
> helm search hub neuvector --output json | jq
[
{
"url": "https://artifacthub.io/packages/helm/lifen/neuvector",
"version": "1.5.2",
"app_version": "3.2.1",
"description": "NeuVector Full Lifecycle Container Security Platform delivers the only cloud-native security with uncompromising end-to-end protection from DevOps vulnerability protection to automated run-time security, and featuring a true Layer 7 container firewall.",
"repository": {
"url": "https://honestica.github.io/lifen-charts/",
"name": "lifen"
}
},
{
"url": "https://artifacthub.io/packages/helm/neuvectorcharts/core",
"version": "2.7.8",
"app_version": "5.3.4",
"description": "Helm chart for NeuVector's core services",
"repository": {
"url": "https://neuvector.github.io/neuvector-helm/",
"name": "neuvectorcharts"
}
},
{
"url": "https://artifacthub.io/packages/helm/test-rainbond/core",
"version": "2.2.0-b1",
"app_version": "5.0.0-b1",
"description": "Helm chart for NeuVector's core services",
"repository": {
"url": "https://openchart.goodrain.com/goodrain/rainbond",
"name": "test-rainbond"
}
}
]
使用 Helm 安裝 NeuVector, 參考 Github 文件
新增 NeuVector 的 Helm repo
新增前
> helm repo list
新增 repo
> helm repo add neuvector https://neuvector.github.io/neuvector-helm/
"neuvector" has been added to your repositories
確認結果
> helm repo list
NAME URL
neuvector https://neuvector.github.io/neuvector-helm/
確認 chart 與 app 版本
> helm search repo neuvector/core
NAME CHART VERSION APP VERSION DESCRIPTION
neuvector/core 2.8.0 5.4.0 Helm chart for NeuVector's core services
取得 chart 基本資訊
> helm show chart neuvector/core
apiVersion: v1
appVersion: 5.4.0
description: Helm chart for NeuVector's core services
home: https://neuvector.com
icon: https://avatars2.githubusercontent.com/u/19367275?s=200&v=4
maintainers:
- email: support@neuvector.com
name: becitsthere
name: core
sources:
- https://github.com/neuvector/neuvector
- https://github.com/neuvector/neuvector-helm
version: 2.8.0
顯示 values 內容
> helm show values neuvector/core
去除掉註解與空白行, 比較好觀察
> helm show values neuvector/core | egrep -v '#|^$'
將 values 輸出存成 values.yaml
> helm show values neuvector/core > values.yaml
修改剛剛的 values.yaml
> vi values.yaml
svc:
#type: NodePort # should be set to - ClusterIP
type: LoadBalancer # should be set to - ClusterIP
containerd:
#enabled: false
enabled: true
path: /var/run/containerd/containerd.sock
大概在 368 行左右(注意是 manager 區段, 因為 svc: 不止一個)將 svc: 內的 type 從 NodePort 改為 LoadBalancer
大概在 623 行左右將 containerd: 內的 enabled false 改為 true
> helm install sakana-neuvector neuvector/core --namespace neuvector --create-namespace -f values.yaml
NAME: sakana-neuvector
LAST DEPLOYED: Sun Sep 22 18:00:36 2024
NAMESPACE: neuvector
STATUS: deployed
REVISION: 1
TEST SUITE: None
NOTES:
Get the NeuVector URL by running these commands:
NOTE: It may take a few minutes for the LoadBalancer IP to be available.
Watch the status by running 'kubectl get svc --namespace neuvector -w neuvector-service-webui'
SERVICE_IP=$(kubectl get svc --namespace neuvector neuvector-service-webui -o jsonpath="{.status.loadBalancer.ingress[0].ip}")
echo https://$SERVICE_IP:8443
確認安裝狀況
> helm list -A
NAME NAMESPACE REVISION UPDATED STATUS CHART APP VERSION
sakana-neuvector neuvector 1 2024-09-22 18:00:36.320882 +0800 CST deployed core-2.8.0 5.4.0
檢查相關資訊
> kubectl get pods -n neuvector
NAME READY STATUS RESTARTS AGE
neuvector-cert-upgrader-job-bj87b 0/1 Completed 0 5m3s
neuvector-controller-pod-7b5bcbcfd4-cbkms 1/1 Running 0 5m24s
neuvector-controller-pod-7b5bcbcfd4-qrhcr 1/1 Running 0 5m23s
neuvector-controller-pod-7b5bcbcfd4-v99q2 1/1 Running 0 5m23s
neuvector-enforcer-pod-7hhmq 1/1 Running 0 5m24s
neuvector-enforcer-pod-cxq9h 1/1 Running 0 5m24s
neuvector-enforcer-pod-nsqhf 1/1 Running 0 5m24s
neuvector-manager-pod-66d8d8ffbd-wrs2q 1/1 Running 0 5m24s
neuvector-scanner-pod-98dbf8bf6-fhlgl 1/1 Running 0 5m24s
neuvector-scanner-pod-98dbf8bf6-snk84 1/1 Running 0 5m24s
neuvector-scanner-pod-98dbf8bf6-t4qnb 1/1 Running 0 5m24s
> kubectl get services -n neuvector
NAME TYPE CLUSTER-IP EXTERNAL-IP PORT(S) AGE
neuvector-service-webui LoadBalancer 34.118.238.177 35.211.143.118 8443:30240/TCP 110s
neuvector-svc-admission-webhook ClusterIP 34.118.226.1 <none> 443/TCP 110s
neuvector-svc-controller ClusterIP None <none> 18300/TCP,18301/TCP,18301/UDP 110s
neuvector-svc-crd-webhook ClusterIP 34.118.237.97 <none> 443/TCP 110s
開啟瀏覽器
https://SERVICE_EXTERNAL_IP:8443
使用 admin 密碼 admin 登入 (勾選同意協議)
首先更改密碼
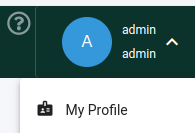
點選右上角 admin 圖示, 點選 My Profile
點選 Edit Profile
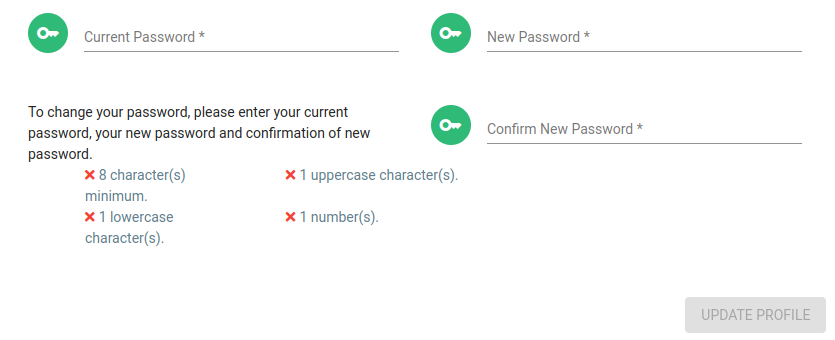
進行密碼更換
輸入完畢後 點選 UPDATE PROFILE
啟用 Auto Scan
可以在 Dashboard 右方, 滑動啟用 Auto Scan
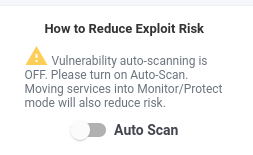
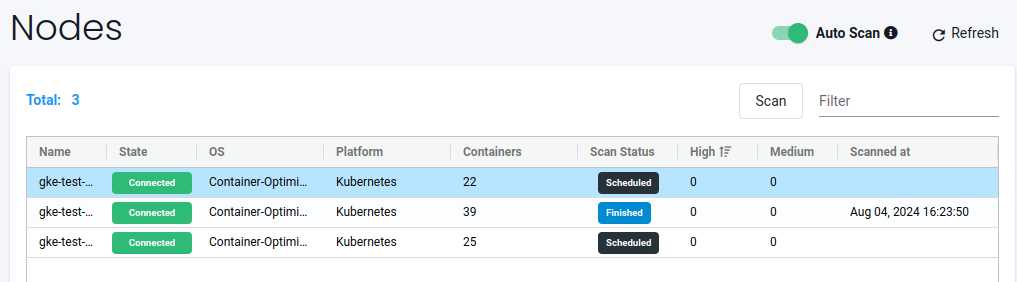
也可以在 Assets -- > Nodes
右上方啟用 Auto Scan

接下來就會看到排程與狀態
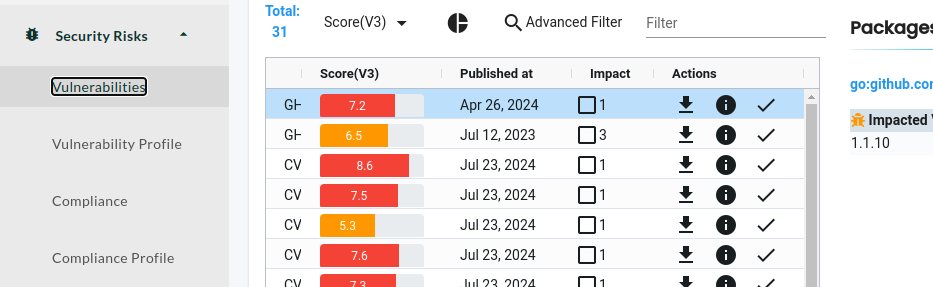
另外也可以到 Security Risks -- > Vulnerabilities 觀察相關資訊
實驗完畢 刪除相關環境
> helm delete sakana-neuvector -n neuvector
release "sakana-neuvector" uninstalled
References