使用 Ansible 建立 容器化 GitLab with openSUSE in Azure 小記
OS: openSUSE Leap 15 in Azure
今天來測試使用 ansible 在 Azure 上面透過容器化的方式建立 GitLab
GitLab 官方建議規格
- 2 CPU / 8 GB MEM - 比對 VM 的話最便宜的就是 B2ms
先來試試看網路上搜尋到的方式
首先試試看沒有掛在 volume 的方式
$docker run -d --hostname gitlab.example.com -p 443:443 -p 80:80 --name gitlab --restart always gitlab/gitlab-ce:latest
這樣的方式可以將 GitLab 啟動起來, 沒有問題
接下來就要考慮如何將這一系列的動作用 Ansible 串起來了 :)
考量點有
- 安裝容器服務以及啟動
- 要有一個獨立磁碟將 container 的設定與資料存起來
- 掛載起來的時候, 要進行切割分割區以及建立 file system
- 掛載到指定目錄
- 下載 gitlab-ce 的 container image 並執行他, 開通 port 80 and port 443
- 以上的方式要以非互動的方式來進行
寫了一個 playbook 來進行 gitlab 的安裝
- 使用 gitlab 群組來進行安裝
- 因為想配合 Azure Dynamic Inventory 方式
檔案 gitlab_install.yml 內容如下
---
# edit by sakana 2019/5/12
#########################################################
#
#
#########################################################
- name: Install docker and run service
# use group
hosts: gitlab
# sudo: True
become: True
vars_prompt:
- name: "hostname"
prompt: "Enter gitlab hostname, ex: gitlab.example.com"
private: no
default: gitlab.example.com
- name: "container_name"
prompt: "Enter container name when we create, ex: gitlab"
private: no
default: gitlab
tasks:
# - name: test setup moudule
# setup: filter=ansible_distribution
- name: Install docker with openSUSE Leap
zypper:
name:
- docker
- curl
when: ansible_distribution == "openSUSE Leap"
# 舊的方式 with_item 即將被棄用
# - name: Install docker with openSUSE Leap
# zypper: name={{ item }}
# with_items:
# - docker
# - curl
# when: ansible_distribution == "openSUSE Leap"
#######################################################
# 等到 openSUSE 測試完成再來測試 CentOS and Ubuntu
#
# - name: Install docker with CentOS
# yum: name={{ item }}
# with_items:
# - docker
# - curl
# when: ansible_distribution == "CentOS"
# - name: Install docker with Ubuntu
# apt: name={{ item }} update_cache=yes
# with_items:
# - docker.io
# - curl
# when: ansible_distribution == "Ubuntu"
# - name: Create docker link with Ubuntu
# shell: ln -sf /usr/bin/docker.io /usr/local/bin/docker
# when: ansible_distribution == "Ubuntu"
#
######################################################
#-------------------------------------------------------
- name: Set docker enable and run
service: name=docker state=started enabled=yes
#-------------------------------------------------------
# 使用 parted 建立label
- name: use parted to make label
shell: parted /dev/sdc mklabel msdos
# 使用 parted 建立分割區, 要使用百分比的方式才能非互動
- name: use parted create partition
shell: parted /dev/sdc mkpart primary 0% 100%
# 建立 file system
- name: use mkfs.xfs create file system
shell: mkfs.xfs -f /dev/sdc1
# 使用 mount module 掛載, 寫入 /etc/fstab
- name: mount /dev/sdc1 to /gitlab
mount:
path: /gitlab
src: /dev/sdc1
fstype: xfs
state: mounted
#-------------------------------------------------------
- name: use docker command to run
shell: docker run -d --hostname {{ hostname }} -p 443:443 -p 80:80 --name {{ container_name }} --restart always gitlab/gitlab-ce:latest
#-------------------------------------------------------
建立方式
如果有使用 azure_rm.py 記得 chmod a+x azure_rm.py
我是使用 Azure Dynamic Inventory 方式
> ansible-playbook -i azure_rm.py --ask-pass --ask-become-pass -u 使用者名稱 gitlab_install.yml
- 這個 playbook 目前沒有處理 security group, 暫時先用手動開, 後面視需求看要不要加進去
VM 所加掛的資料磁碟, 非互動方式的處理我是使用 parted 指令
==== parted 一些指令小記 ====
列出 /dev/sdc 上面的分割區
> parted /dev/sdc print
建立 label
超過 2TB 以上的
> parted /dev/sdc mklabel gpt
一般用
> parted /dev/sdc mklabel msdos
建立分割區, 使用整顆硬碟
> parted /dev/sdc mkpart primary 0% 100%
刪除第一個分割區
> parted /dev/sdc rm 1
=======================
建立完機器, 最後的步驟就是
- 在 Azure portal 上面開啟機器 security group 的 port 80
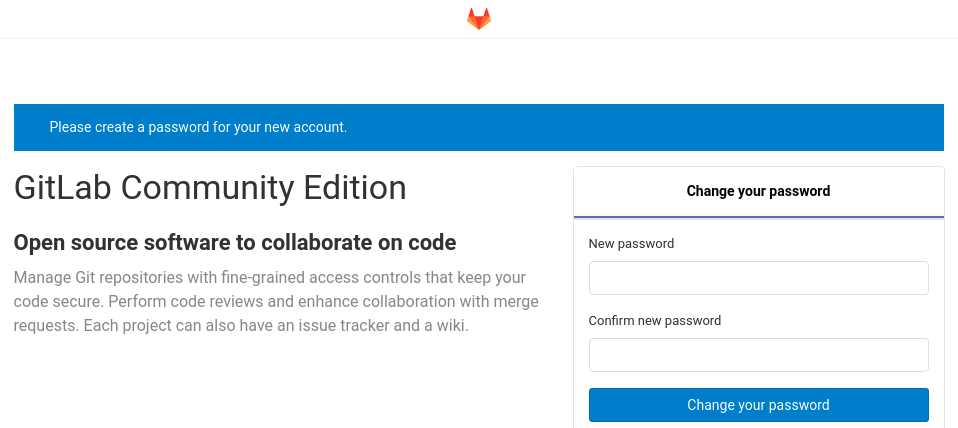
設定 GitLab root 密碼 -- > Change your password
就有一個 GitLab 實驗環境可以使用啦 :)
~ enjoy it
Reference:
沒有留言:
張貼留言