Portainer with openSUSE Leap 15 小記
OS: openSUSE Leap 15
因為讀書會的關係, 接下來要練習 portainer
官方網站
下載 potainer image
# docker image pull portainer/portainer
確認資訊
# docker images
REPOSITORY TAG IMAGE ID CREATED SIZE
portainer/portainer latest 50c62d83c09c 3 weeks ago 54.1MB
使用 docker run 來執行 portainer
# docker run -d -p 9000:9000 -v /var/run/docker.sock:/var/run/docker.sock portainer/portainer
41c93d65b4dbb18b50089361e9f96f55b1615847fc564d98214994736c10060b
使用瀏覽器開啟 http://localhost:9000
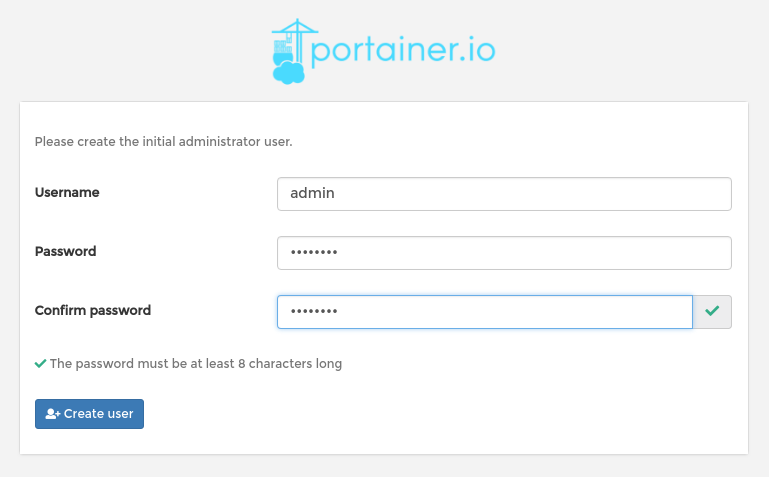
設定 admin 的密碼
點選 Create user
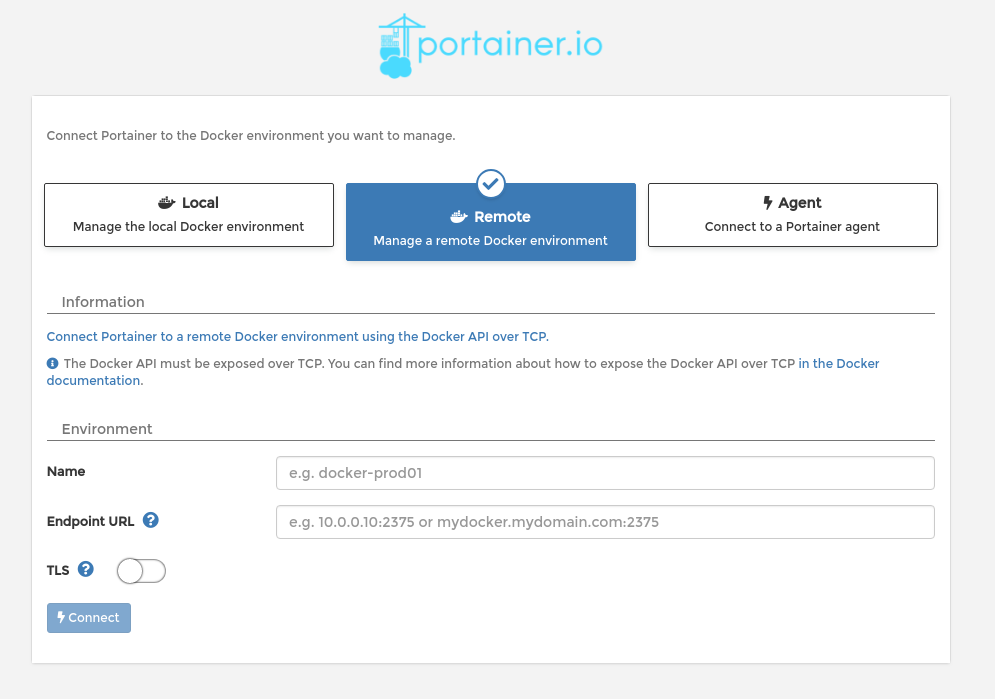
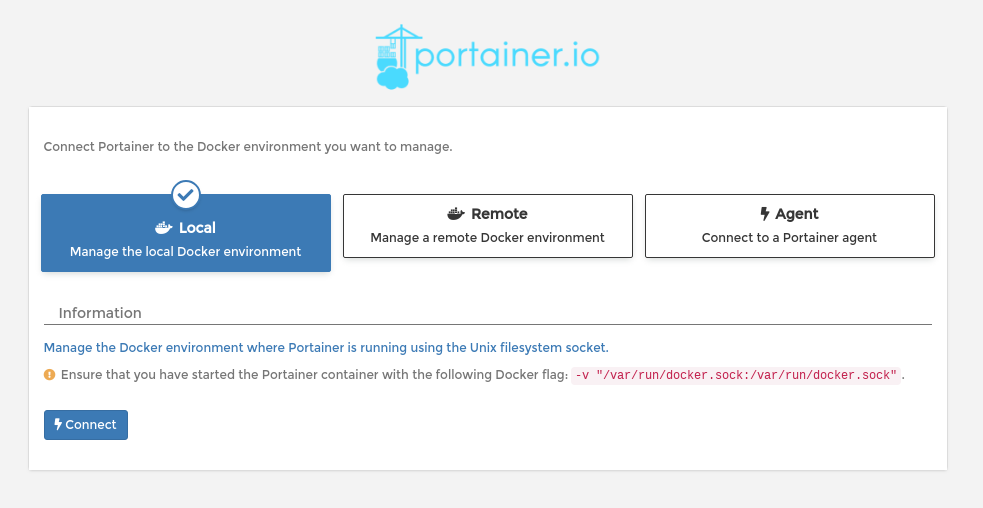
選取連接的方式
因為是讀書會的關係, 先來嘗試 Local 的連接方式
但是這個部份要配合 -v /var/run/docker.sock:/var/run/docker.sock 才可以
點選 Connect
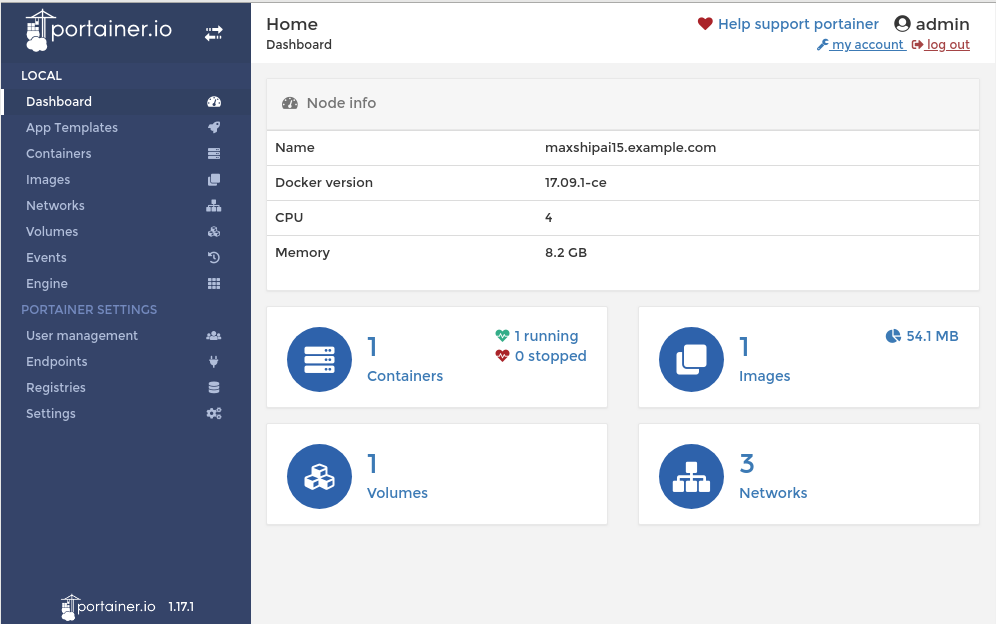
接下來就會出現漂亮的 dashboard
在 App Templates 有一些 template 可以供安裝
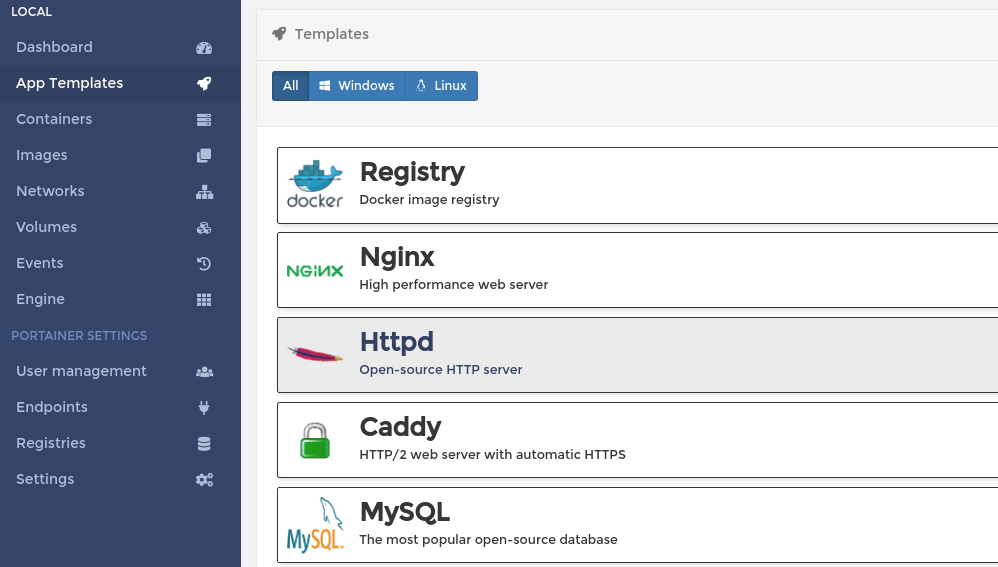
這邊嘗試使用 Nginx 來進行實驗
最簡單的方式就是輸入名稱
點選 Deploy the Container

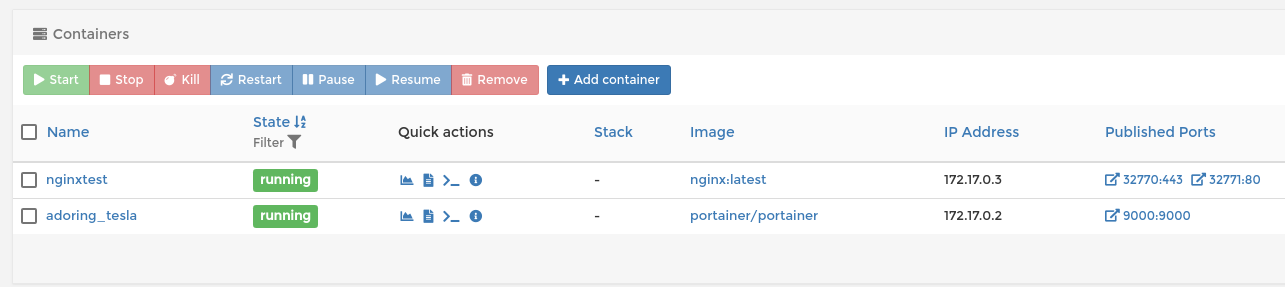
這個時候就會在 Containers 這邊看到相關資訊
因為剛剛我們沒有特別指定 port, 所以就會隨機指定一個 port 到container 裡面的 port 80 / 443
點選 Container 的名字之後
可以使用圖示來進行 container 的基本操作
觀察 status, 使用終端機這類的操作

接下來嘗試另外一種建立 container 的方式
點選 Containers 裡面的 Add container

在設定的畫面中
這邊先嘗試只輸入名稱 以及 image name (這邊以 sakana/jupyterhub 為例子 )
點選 Deploy the container

因為沒有指定 port mapping 或是開啟 Publish all exposed ports
所以就不會 有 Published Ports

如果有開啟 Publish all exposed ports
就會隨機指定一個 port 給 Dockfile 內有指定 EXPOSE 的 port

---------------------------------
實驗完 Local 的方式, 接下來實驗 docker swarm 的連接
首先我是在 Azure 上面開了 3 台 openSUSE Leap 來建立 docker swarm
建立的方式很簡單
Manager node 使用 #docker swarm init --advertise-addr IP_ADDRESS 初始化
Worker node 使用 manager node 吐出來的 join 指令加入
- 例如 # docker swarm join --token SWMTKN-1-5tq2mf503fj8oc1ehvuh0zybr8t2bxwzrlma1b0wokfj5kzc2m-eqixr308uwmhqso82bovb6hf5 10.0.0.4:2377
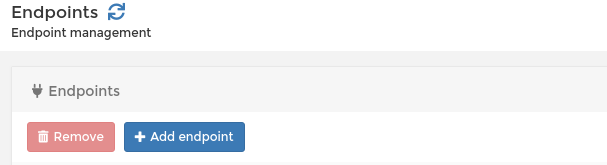
點選左邊的 Endpoints
點選 Add endpoint
在連接的畫面會看到
還剩下兩種方式
- Docker
- 這個要連接 Docker 主機的 api port
- Portainer Agent
- 這個我還沒有試過, 但是連接 port 9001
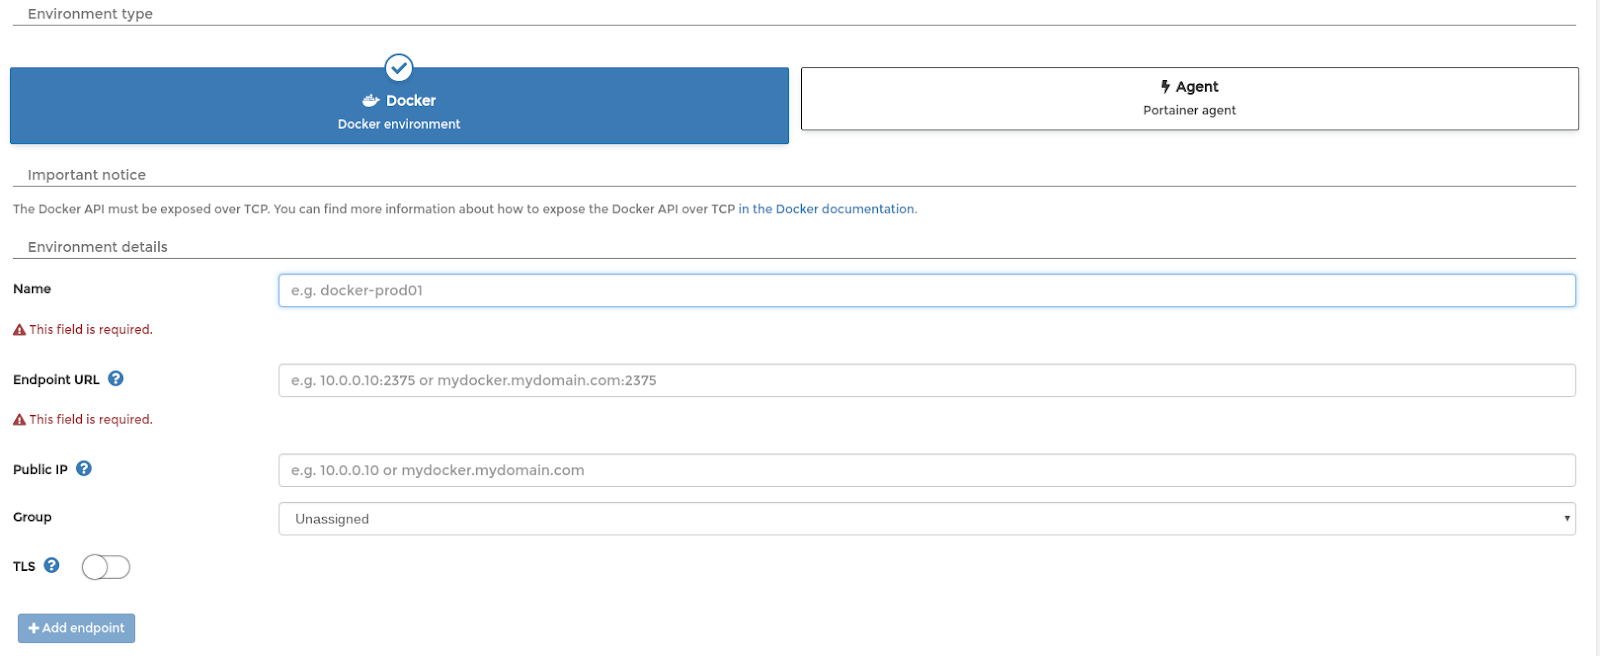
目前先嘗試 連接 docker
但是要先提到, 之前有發生 port 2375 暴露產生的漏洞, 所以 docker 官方是建議 使用 port 2376 + TLS
個人的想法是除了使用憑證以外, 還要使用 firewall 限制 ip 等等
但是因為是讀書會, 所以目前嘗試的方式是開啟 port 2375
作法參考網路上找到的方式
# vi /usr/lib/systemd/system/docker.service
修改 ExecStart 的參數, 加入紅色的部份
ExecStart=/usr/bin/dockerd --containerd /run/containerd/containerd.sock --add-runtime oci=/usr/bin/docker-runc -H tcp://0.0.0.0:2375 -H unix://var/run/docker.sock $DOCKER_NETWORK_OPTIONS $DOCKER_OPTS
#ExecStart=/usr/bin/dockerd --containerd /run/containerd/containerd.sock --add-runtime oci=/usr/bin/docker-runc $DOCKER_NETWORK_OPTIONS $DOCKER_OPTS
# systemctl daemon-reload
重新啟動 docker
# systemctl restart docker
檢查 參數
# ps -ef | grep docker
#netstat -tupln
tcp 0 0 :::2375 :::* LISTEN 21501/dockerd
接下來就到 portainer 上面輸入 名字 + IP:2375
就可以了
成功之後
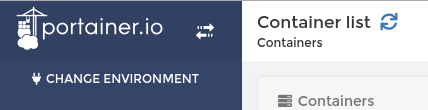
左上角就會出現 CHANGE ENVIRONMENT
就可以用下拉式選單選遠端的 docker
因為是使用 docker swarm
所以會有些差異, 例如 Services , Stacks 還有 Swarm

接下來就可以使用圖形界面來管理 docker swarm 以及遠端的 docker 了
:)
讀書會又前進一步
~ enjoy it
------------------------------
2018/6/16 更新
遠端連接的部份 port 2376 的部份
使用 DigitalOcean 來進行實驗
利用 docker-machine 指令來建立 DigitalOcean 的VM, 本質上就會在 port 2376 listen
然後 docker-machine 也會幫忙建立憑證與 key
連接的方式
輸入名稱 以及 Endpoint URL 記得 port 是 2376
選取 TLS with Client verification only ( 或是 skip server verification )
TLS certificate 用 ~/.docker/machine/certs/cert.pem
TLS Key 用 ~/.docker/machine/certs/key.pem
點選 Add endpoint

Reference:
- http://sakananote2.blogspot.com/2018/04/docker-machine-digital-ocean.html
