Visual Studio Code with Kubernetes extension 小記
OS: openSUSE Leap 15.0
Kubernetes: Azure AKS ( node v1.10.5 )
Visual Studio Code: 1.30.1
因為 k8s 讀書會的關係, 現在有在使用 Azure AKS 的服務
接下來進行 Visual Studio Core with Kubernetes extension 實驗
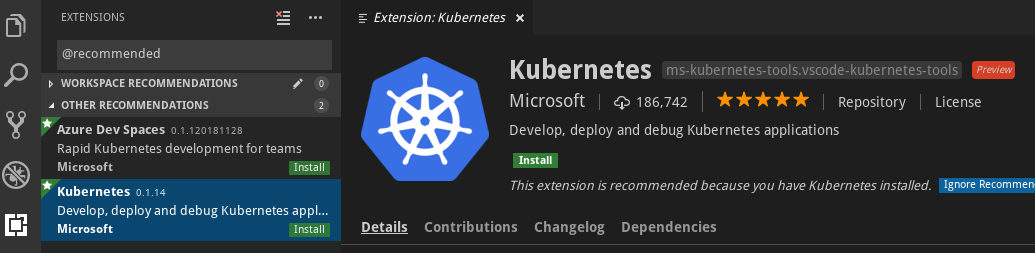
首先參考官方文件安裝 Kubernetes extension
點選左方 Extension 圖示
輸入 kubernetes 或是去點選 recommended 就會看到 Kubernetes extension
目前的Kubernetes extension 版本是 0.1.14 -- > 點選 Install -- > 點選 Reload
這個時候左邊就會出現 Kubernetes 的圖示
可以展開自己的 cluster, 就會看到相關物件
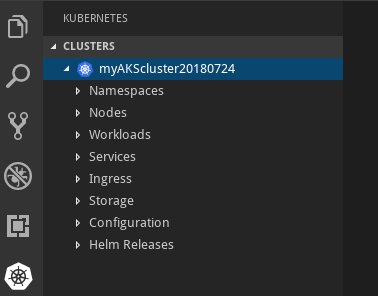
看到這個畫面真的很感動呢 :)
接下來進行一些功能的嘗試
首先展開 Workloads
這邊可以觀察 Deployments / Pods

例如在 Deployments 上面執行 Get ( 點選滑鼠右鍵 )
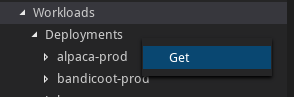
也可以觀察終端機上面的輸出
不過其實展開 Deployments 就可以知道目前有哪些 deployment
然後針對 deployment 也可以進行相關的動作, 例如 Get / Describe

點選練習的 deployment bandicoot-prod , 右方就會出現相關設定
目前我 bandicoot-prod 這個 deployment 的 replicas 設定為 2
所以目前有兩個 pods 提供服務
接下來嘗試改變 deployment 的 replicas 數量
將右方 spec: 內的 replicas: 2 改為 replicas: 1
呼叫 Command Palette (使用 Ctrl+Shift+P)
輸入或是尋找 Kubernetes: Apply -- > 點選 Kubernetes: Apply

這個時候就會出現兩個檔案的 diff 比較

以及詢問是否要儲存檔案以及套用改變
點選 Save 與 Apply
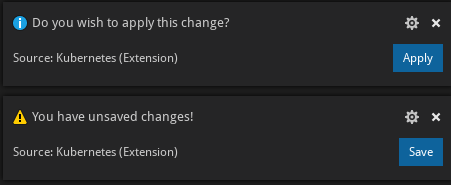
系統會出現 configured 的訊息
接下來觀察 deployment 的 pod 數量, 就可以知道剛剛的設定成功了

最後來嘗試 port-forward 功能
在 pod 上面按滑鼠右鍵 -- > 點選 Port Forward

接下來會提示輸入 本機以及遠端的 port
以我的例子是本機的 port 8888 轉向遠端的 port 8080
輸入 8888:8080

也可以觀察終端機的輸出

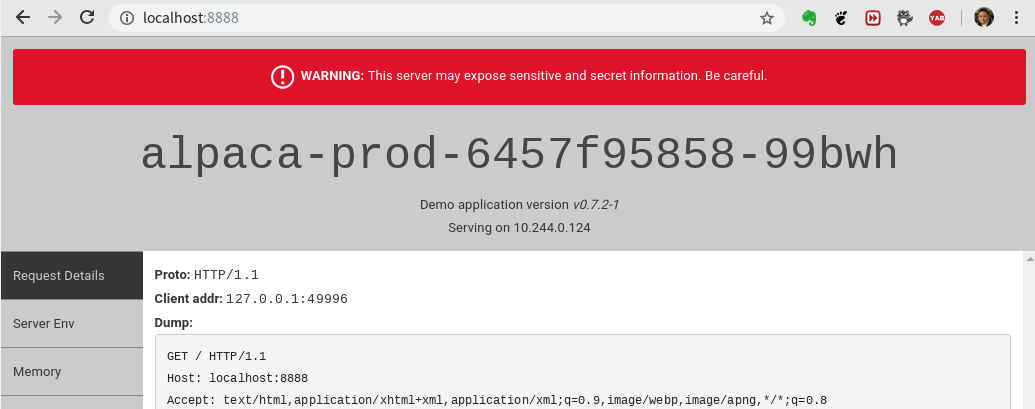
接下來在瀏覽器內輸入 localhost:8888 來嘗試連接
驗證是否成功 :)
有了這個 kubernetes extension, 相信之後讀書會可以更省力了
~ enjoy it
Reference:
沒有留言:
張貼留言