使用 Ansible 安裝 netdata on GCP 小記
OS: Container with openSUSE Leap 15
因為同事很習慣使用 netdata 觀察機器狀況, 所以就寫了一篇紀錄使用 Ansible 安裝 netdata 小記
Netdata
這次要實驗的機器是同事習慣的 CentOS 7 on GCP
Ansible 的部份是使用自己建立的 Container with openSUSE Leap 15
- 已經裝了三個雲端平台的工具還有 Ansible 環境
==== 在主機上面 ====
啟動 container
> docker run -v ~/.aws:/root/.aws -v ~/.azure:/root/.azure -v ~/.config/gcloud:/root/.config/gcloud -v ~/.ssh:/root/.ssh -it sakana/ansible_opensuse15 /bin/bash
- 這邊我有透過 -v 把本機上面的三個平台的設定檔掛載到容器內, 還有 .ssh 目錄 也掛載上面, 因為 google 的 SSH 金鑰 也會存放在裡面
==== 在 container 內 ====
使用 gcloud 指令建立 CentOS 7 的 GCE ( VM )
# gcloud compute --project=sakanatest instances create --zone=asia-east1-b --machine-type=n1-standard-1 --image-project=centos-cloud --image-family centos-7 --boot-disk-size=30GB test20190718
- --project 是因為我有多個 profile 所以指定那一個專案
檢查相關資訊
# gcloud compute instances list
NAME ZONE MACHINE_TYPE PREEMPTIBLE INTERNAL_IP EXTERNAL_IP STATUS
test20190718 asia-east1-b n1-standard-1 10.120.0.34 32.194.143.80 RUNNING
嘗試使用 gcloud 指令連線 SSH 到 GCE
# gcloud compute ssh sakana@test20190718 --zone asia-east1-b
[sakana@test20190718 ~]$
- 這邊要用 使用者@SERVER_NAME, 因為預設不允許讓 root 登入
- 使用者帳號就要看當初 GCE 內的 SSH 金鑰使用者名稱
登出 GCE 回到 container 內
[sakana@test20190718 ~]$ exit
到這邊可以確認 gcloud 可以建立 GCE , 連線 SSH 到 GCE
接下來確認一下 在容器內也可以使用 SSH 私鑰 連線遠端的 GCE
# ssh -i /root/.ssh/google_compute_engine -l sakana YOUR_VM_IP
[sakana@test20190718 ~]$
登出 GCE 回到 container 內
[sakana@test20190718 ~]$ exit
接下來進入 Ansible 的部份
- 相關檔案可以在 Github 上面找到 https://github.com/sakanamax/LearnAnsible/tree/master/playbook/general/netdata
hosts 檔案如下
# ----------------------------------------------------------------------
test20190718 ansible_host=YOUR_VM_IP ansible_ssh_private_key_file=/root/.ssh/google_compute_engine
# ----------------------------------------------------------------------
# 安裝 netdata
[netdata]
test20190718
先來進行基礎的 ping 測試
# ansible -u sakana -m ping test20190718
test20190718 | SUCCESS => {
"changed": false,
"ping": "pong"
}
安裝 netdata 的 playbook 檔案 netdata_install.yml 檔案如下
---
# edit by sakana 2019/7/18
# 感謝亦德提供安裝的playbook 讓我修改
#########################################################
#
#
#########################################################
- name: Install netdata and run service
# use group
hosts: netdata
# sudo: True
become: True
tasks:
# - name: test setup moudule
# setup: filter=ansible_distribution
# 下載 netdata 安裝 script
- name: downlaod netdata software
get_url:
url: https://my-netdata.io/kickstart.sh
dest: /usr/local/src/
# 使用非互動的方式安裝 netdata
- name: install netdata
shell: bash /usr/local/src/kickstart.sh --dont-wait
- name: clean yum cache
shell: yum clean all
args:
warn: no
# 移除 kickstart.sh
- name: remove netdata software
shell: rm -rf /usr/local/src/kickstart.sh
args:
warn: no
# 修改 Global 的 history 為86400
- name: change netdata.conf
shell: sed -i '1,30s/# history = 3996/history = 86400/g' /etc/netdata/netdata.conf
args:
warn: no
# 重新啟動 netdata
- name: restart and enable service netdata
systemd:
name: netdata
state: restarted
enabled: yes
#-------------------------------------------------------
使用 ansible-playbook 指令安裝 netdata
# ansible-playbook -u sakana netdata_install.yml
到這邊 netdata 已經安裝完畢
剩下最後一個動作, 開啟該 GCE 的 firewall
使用 gcloud 指令建立 firewall 允許 netdata 預設 port 19999 存取
# gcloud compute --project sakanatest firewall-rules create "netdata" --source-ranges "YOUR_IP_RANGE" --allow tcp:19999
開啟瀏覽器 http://YOUR_IP:19999
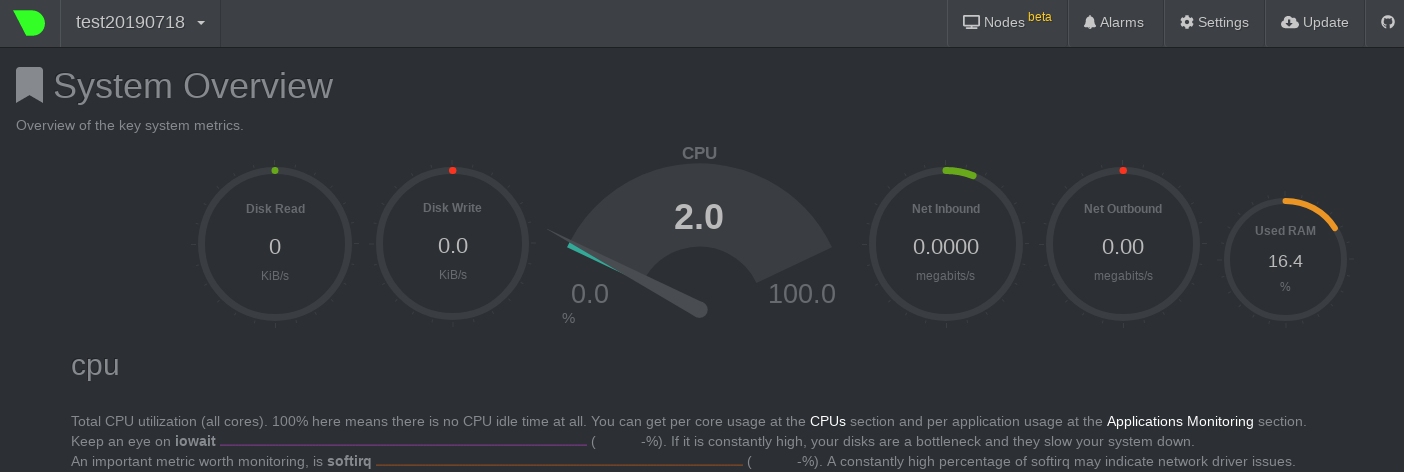
大功告成
在 GCP 上面又前進一步
~ enjoy it
結束實驗, 刪除相關資源
# gcloud compute instances delete test20190718
# gcloud compute --project sakanatest firewall-rules delete "netdata"
Reference:
沒有留言:
張貼留言