星期五, 3月 18, 2011

openSUSE 11.4 安裝小記


openSUSE 11.4 安裝小記

問題1:  Firefox 4.0 Beta 12 Can’t typing Chinese ( scim 的問題)

解決方式: 安裝 ibus 輸入法
#zypper in  ibus-gtk  ibus-qt
#gtk-query-immodules-2.0   >   /etc/gtk-2.0/gtk.immodules

安裝 ibus-chewing
http://software.opensuse.org/search?q=ibus-chewing&baseproject=openSUSE%3A11.4&lang=zh_TW&include_home=true&exclude_debug=true


Reference:
掩住tp://swyear.blogspot.com/search/label/%E8%BC%B8%E5%85%A5%E6%B3%95

加入 Packman 到套件庫
http://ftp.twaren.net/Linux/Packman/suse/11.4/

Install 安裝相關套件
  • Mplayer / smplayer [ rmvb media file]
  • pidgin [ google talk / facebook chat ]
  • skype [ SMS / Mobile ]
  • kernel-desktop-devel / kernel-source / kernel-desktop-base   [ for VMWare]
  • VMWare


skype 無法啟動的問題
錯誤訊息如下
#skype
skype: error while loading shared libraries: libpng12.so.0: cannot open shared object file: No such file or directory

解決方式 安裝 libpng12-0 套件
#zypper   in   libpng12-0

安裝完 libpng12-0 之後 chrome  不能啟動的問題也一併解決

VMWare with openSUSE 11.4 不能編譯 Kernel modules 可以參考


星期六, 3月 12, 2011

Android 離線地圖 軟體 Rmaps 實做

Android 離線地圖

PC端:

先到 Mobile Atlas Creator 官方網站
http://mobac.dnsalias.org/

現在版本為 1.8 的版本, 而且支援 Linux
下載 Mobile Atlas Creator 地圖製作軟體 http://sourceforge.net/projects/trekbuddyatlasc/files/Mobile%20Atlas%20Creator/MOBAC%201.8/Mobile%20Atlas%20Creator%201.8.zip/download

使用 wget 下載 SQLitejdbc (需要放在同一個目錄, 不然等下製作地圖會出現沒有 SQLite的錯誤訊息)
wget http://files.zentus.com/sqlitejdbc/sqlitejdbc-v056.jar

解壓縮 zip 檔案
解壓縮之後會有一個資料夾 Mobile Atlas Creator 1.8, 檔案內容如下
> ls
CHANGELOG.txt  Mobile Atlas Creator.exe  settings.xml gpl.txt  Mobile_Atlas_Creator.jar  start.sh mapsources.properties  README.HTM  tilestore mobac-profile-Google Maps New York.xml  ReleaseNotes.txt

給予執行的權限
>chmod  a+x  start.sh

執行 start.sh
> ./start.sh

畫面如下


選取地圖種類
這邊我選Google Maps
使用滑鼠左鍵圈選範圍
勾選 地圖 Zoom Levels , 我在這邊勾選 14 ~ 17
在Name: 輸入名稱
點選 Add selection
在 Formats: 選取 Big Planet Tracks SQLite
在Saved profiles 輸入檔案名稱
點選 Save
點選 Create Atlas 製作地圖


下載好的地圖會放在 atlases 資料夾內
ls -hl   atlases/
總計 85M
-rw-r--r-- 1 max users 85M 2011-02-17 03:27 Custom Unnamed atlas.sqlitedb


Android 手機:

利用 Market 安裝 Rmaps 套件
將剛剛製作的地圖放在手機 SD 卡內的 rmaps/maps 資料夾下
點選 Menu 按鈕 -->  更多 --> 設定 --> 使用者定義地圖
選取 剛剛儲存的地圖 --> 勾選 啟用地圖
回到 Rmaps --> 點選 Menu 按鈕 --> 點選地圖 --> 點選自行製作的地圖
就可以搜尋及使用

Tips:

在 Rmaps 匯入 POI
參考
http://android-map.blogspot.com/2010/05/how-to-import-google-my-maps-into-rmaps.html

自行製作自己的 Google 地圖
然後在 “在 Google 地球中檢視” 上面按滑鼠右鍵 --> 複製連結
(已經嘗試過了, 雖然直接點選會下載 KML 檔案, 但是那個只是連結, 不是 POI)
將複製的連結貼到網址列,將字串 output=nl 改成 output=kml
下載到電腦上, 並存放到 手機上面的 rmaps/import 資料夾內 (這個資料夾 沒有點選 POI/Import 功能不會建立, 也可以隨便放, 再自行選取)


enjoy it ~~


星期二, 3月 01, 2011

Nagios 內的巨集 $HOSTADDRESS$ 的判斷小記

因為今天執行過 crawlzilla 安裝 而導致的 /etc/hosts 解析不正常的現象

讓我想要研究  在執行監控模組的時候  $HOSTADDRESS$ 這個 IP 到底是如何設定?
首先回到當我們進行 Nagios 監控的時候應該會看到以下設定
這邊以  /etc/nagios/objects/localhost.cfg  內的設定為範例

以 SSH 服務來說

define service{
        use                             local-service         ; Name of service template to use
        host_name                       localhost
        service_description             SSH
        check_command                   check_ssh
        notifications_enabled           0
        }

他會去呼叫  check_ssh 的指令

所以當我們去檢查  /etc/nagios/objects/commands.cfg 這個相關指令設定檔的時候

會看到
  
# 'check_ssh' command definition
define command{
        command_name    check_ssh
        command_line    $USER1$/check_ssh   $ARG1$ $HOSTADDRESS$
        }


這邊首先了解  $USER1$ 巨集的由來
這個可以參考, 也可以自己定義   /etc/nagios/resource.cfg
裡面有 $USER1$  也就是 plugin 路徑的定義

# Sets $USER1$ to be the path to the plugins
$USER1$=/usr/lib/nagios/plugins


也就是說 上面的指令事實上是執行 (將 $USER!$的路徑帶進來)

/usr/lib/nagios/plugins/check_ssh    $ARG1$  $HOSTADDRESS$

$ARG1$ 是如果在上面進行指令就有帶進引數就直接帶進來, 這個很好理解

但是 $HOSTADDRESS$ 這個巨集的值就沒有設定檔或是明講
所以我找了一下 Internet 上面的文章
有關於 Marco 的說明

http://nagios.sourceforge.net/docs/3_0/macros.html


Example 1: Host Address Macro
When you use host and service macros in command definitions, they refer to values for the host or service for which the command is being run. Let's try an example. Assuming we are using a host definition and a check_ping command defined like this:
define host{

 host_name  linuxbox

 address  192.168.1.2

 check_command check_ping

 ...

 }


define command{

 command_name    check_ping

 command_line    /usr/local/nagios/libexec/check_ping -H $HOSTADDRESS$ -w 100.0,90% -c 200.0,60%

 }

the expanded/final command line to be executed for the host's check command would look like this:
/usr/local/nagios/libexec/check_ping -H 192.168.1.2 -w 100.0,90% -c 200.0,60%

Pretty simple, right? The beauty in this is that you can use a single command definition to check an unlimited number of hosts. Each host can be checked with the same command definition because each host's address is automatically substituted in the command line before execution.

原來就是定義在 host  內的 address 設定

趕快把他記起來

以免自己忘記


^___^

Nagios with openSUSE 11.3 一些小問題修正 with crawlzilla

問題 1:

今天將實驗的主機 實行 crawlzilla
由於實驗的主機裝上 crawlzilla 之後會去修改 /etc/hosts 的對應

所以之前在  /etc/nagios/nrpe.conf 內的command
因為 localhost 對應不正確 會產生 UNKNOWN 的錯誤, 原因在於 localhost 對應會被改掉


# ping localhost
ping: unknown host localhost

# cat /etc/hosts
# Crawlzilla add
192.168.123.204 da4 00:23:F8:5E:8D:34
192.168.123.203 da3 00:11:5B:E9:B4:9E
192.168.123.202 da2 00:11:5B:D1:66:7D
# Crawlzilla End


故原本 /etc/nagios/nrpe.conf 內的
command[check_ssh]=/usr/lib/nagios/plugins/check_ssh localhost
command[check_smtp]=/usr/lib/nagios/plugins/check_smtp localhost


就會產生錯誤

修正方式:
將localhost 直接改為 IP 對應

command[check_ssh]=/usr/lib/nagios/plugins/check_ssh 127.0.0.1
command[check_smtp]=/usr/lib/nagios/plugins/check_smtp 127.0.0.1

修正完之後 check_ssh 就可以解決
但是  check_smtp 還是會出現問題

# /usr/lib/nagios/plugins/check_smtp   127.0.0.1
CRITICAL - Socket timeout after 10 seconds


原因在於  /etc/postfix/main.cf  內的 inet_interfaces 設定已經解析不到 localhost
解決方式
#vi   /etc/postfix/main.cf

將 原本的 inet_interfaces
#inet_interfaces = localhost
改成
inet_interfaces = 127.0.0.1

重開 postfix  就可以解決

#rcpostfix  restart


問題 2:
要透過網頁重新修改 nagios 的相關設定的時候出現 錯誤訊息
Error: Could not open command file '/var/spool/nagios/nagios.cmd' for update!

原因 該檔案的權限設定錯誤

首先觀察 /etc/group

# grep  nag  /etc/group
nagios:!:113:
nagcmd:!:114:wwwrun


從這邊可以知道  httpd 的群組為  nagcmd 這個群組

錯誤的權限為


# ls  -l   /var/spool/nagios/nagios.cmd
prw-rw---- 1 nagios nagios 0 2010-12-21 01:38 /var/spool/nagios/nagios.cmd


這個時候可以發現  httpd 的執行者沒有權限


修正方式 將群組 改為  nagcmd
# chgrp   nagcmd   /var/spool/nagios/nagios.cmd

權限如以下所示


# ls  -l   /var/spool/nagios/nagios.cmd
prw-rw---- 1  nagios  nagcmd 0 2011-03-01 20:00 /var/spool/nagios/nagios.cmd


修改完成之後就可以正確執行 Nagios 的update.

星期三, 2月 23, 2011

GNOME 3 Launch Party 視訊串流相關操作文件

GNOME 3 Launch Party 視訊串流相關操作文件

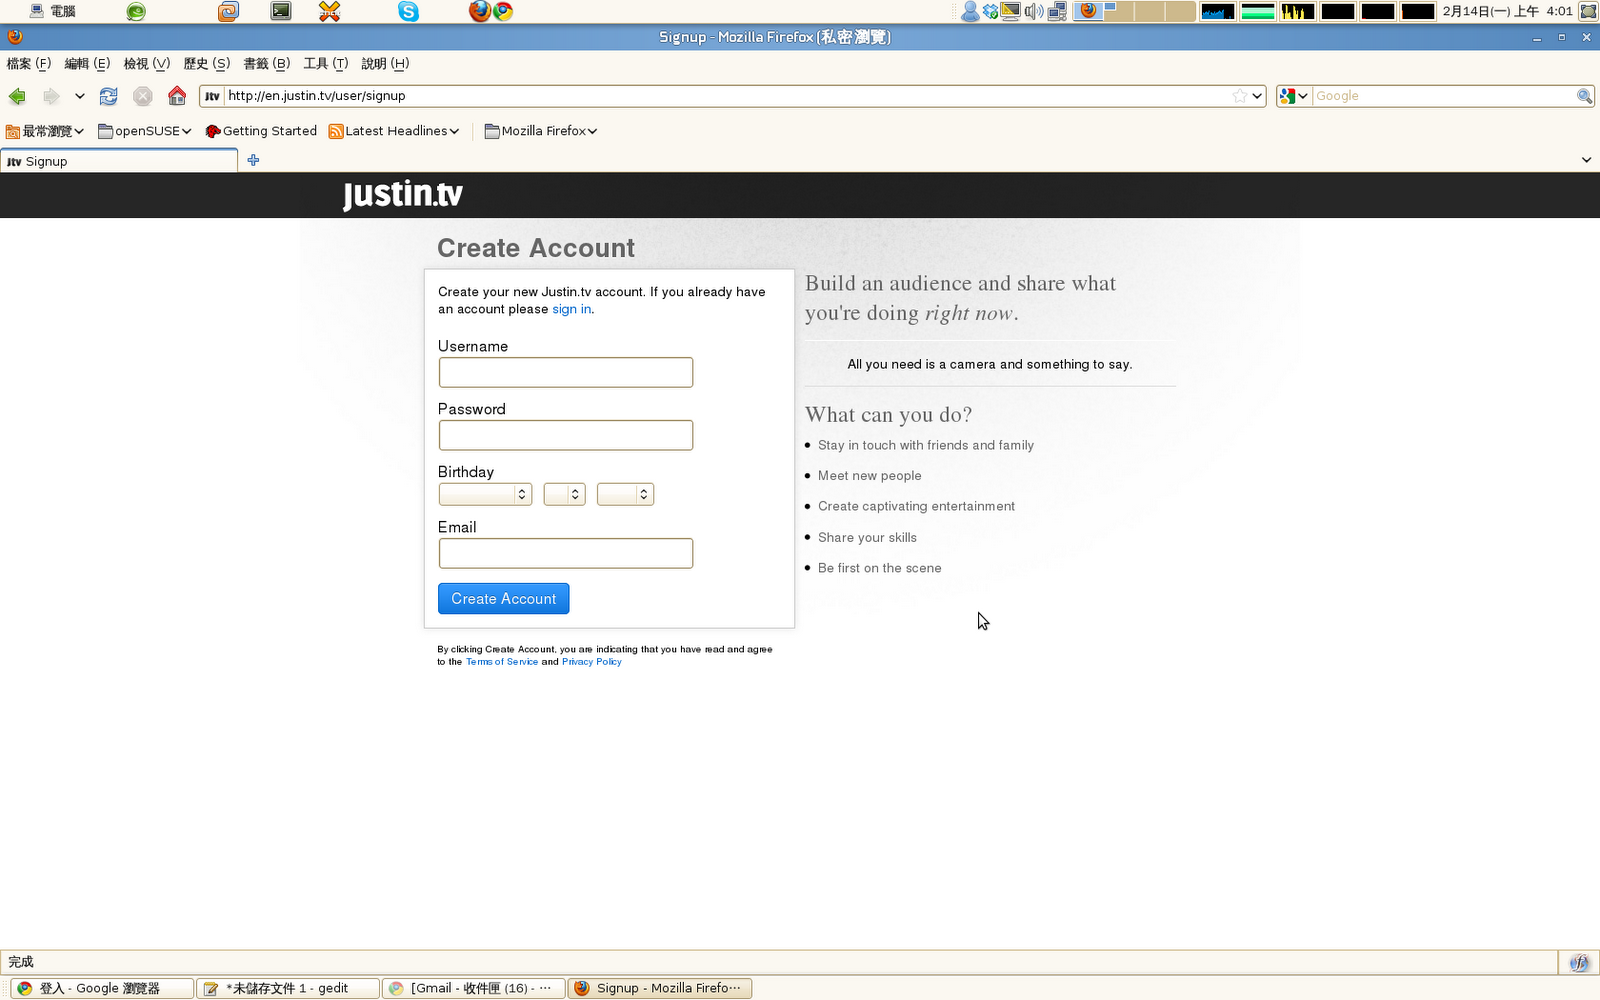
Step 1: 建立 justin.tv 帳戶來進行串流直播
建立一個 justin.tv 的帳戶
Step 2: 準備相關套件
*** 行動裝置的使用者 ***
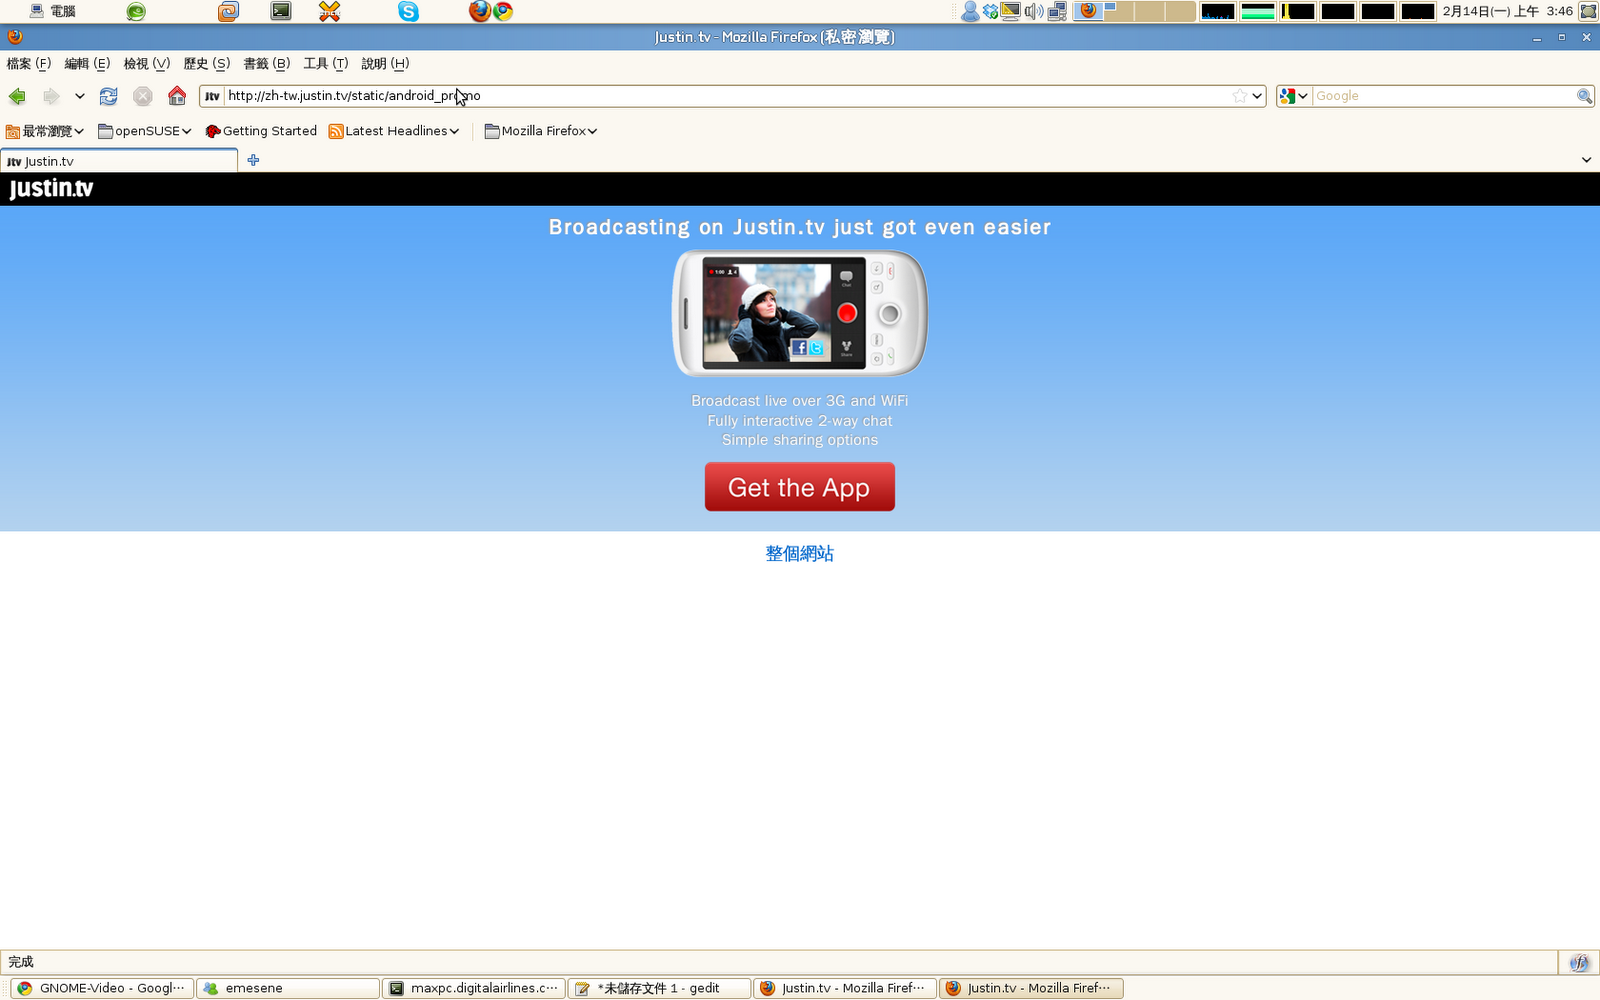
*Andrioid 手機
使用手機連上 http://justin.tv
點選 Get the App 按鈕
安裝 justin.tv 套件
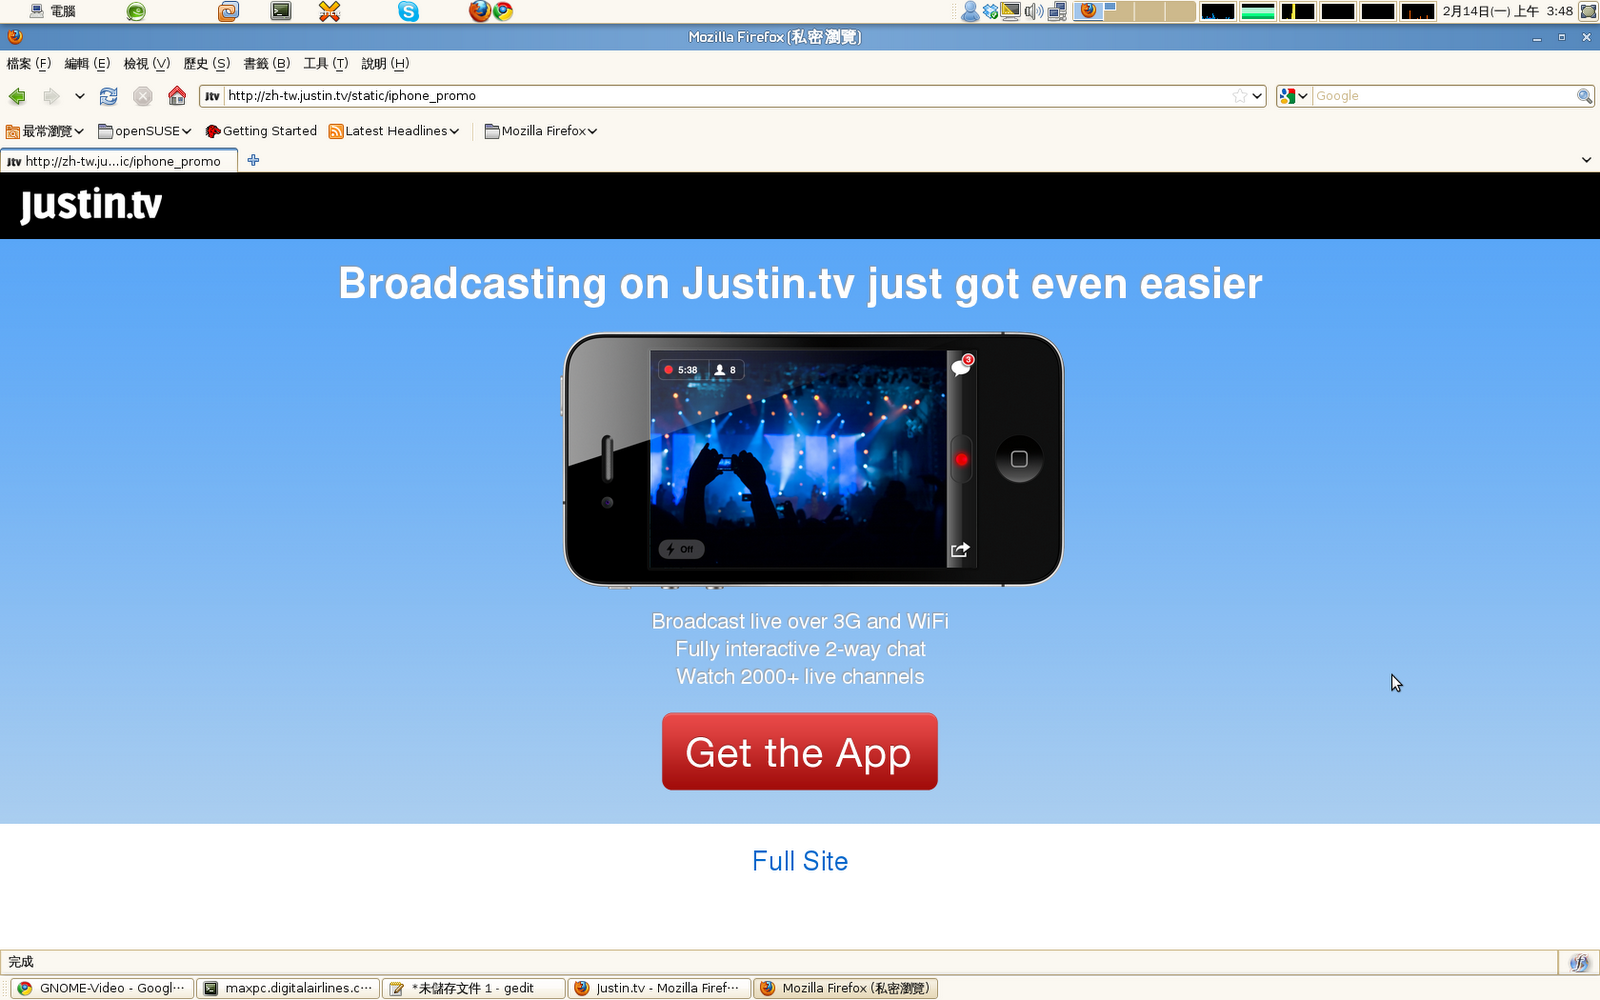
*iphone 手機
使用手機連上 http://justin.tv
點選 Get the App 按鈕
安裝 justin.tv 套件
安裝完之後, 就可以使用該套件 
點選錄影按鈕(紅色按鍵)就可以現場直播
*** 一般電腦的使用者 ***
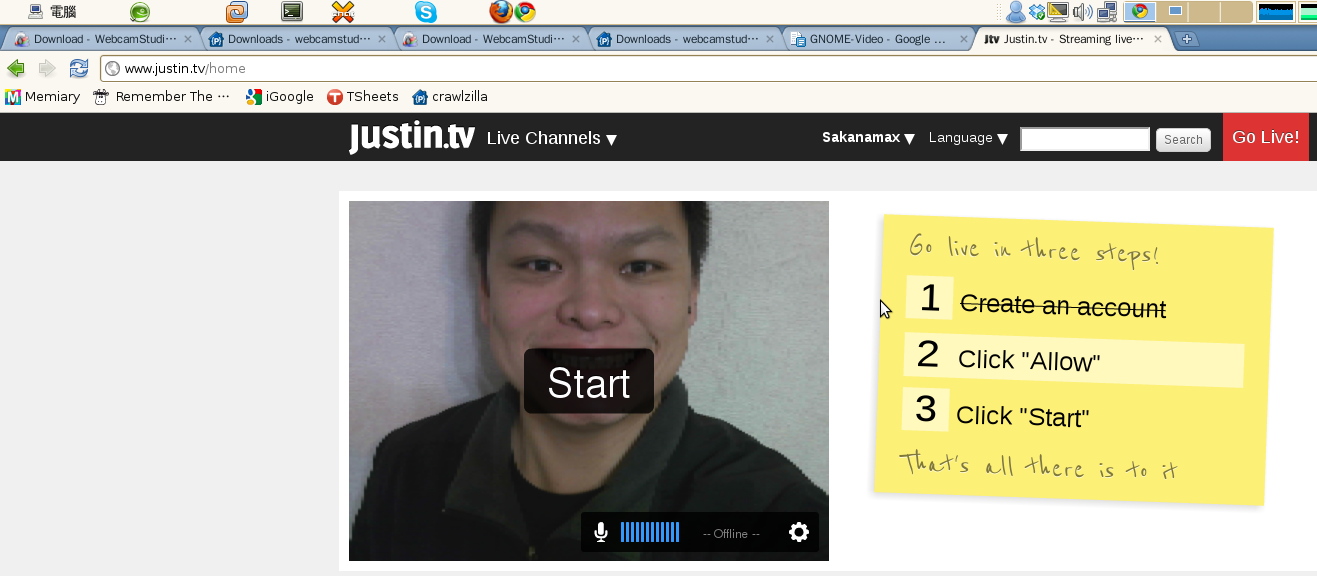
針對一般電腦的使用者, 只要有正確的連接 WebCam 就可以操作
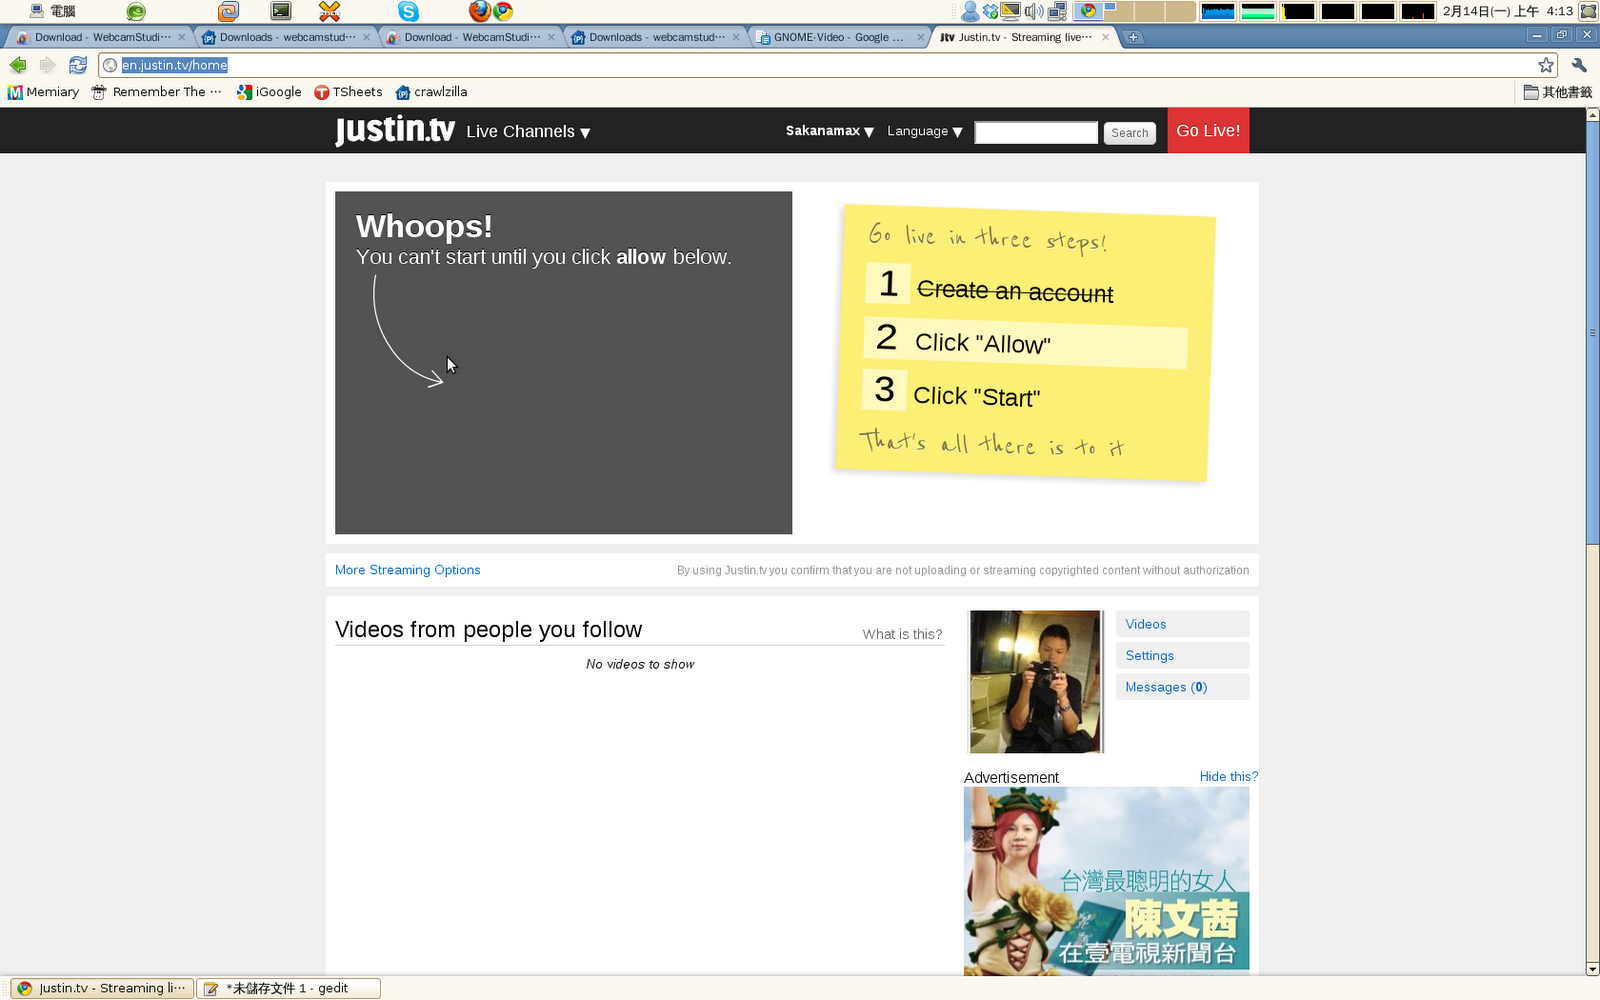
登入 justin.tv 後, 可以在首頁點選 直播(Go Live)
或是 點選 Webcam 按鈕
在 Linux 的環境底下, 因為 Adobe Flash Player 的關係
所以在隱私授權上面無法點選
解決方式
自行設定隱私設定
請前往下列連結
請將 www-cdn.justin.tv 網站設定為 “永遠允許”
接下來請關閉所有瀏覽器的視窗, 重新開啟 justin.tv
點選 Start 就可以開始 串流直播
重點在 直播的標題
為了讓其他的朋友可以找到你, 建議你要加上 GNOME 或是相關的關鍵字
以下還在實驗當中
----------------------------------------------------------------------------------------------------------------------------
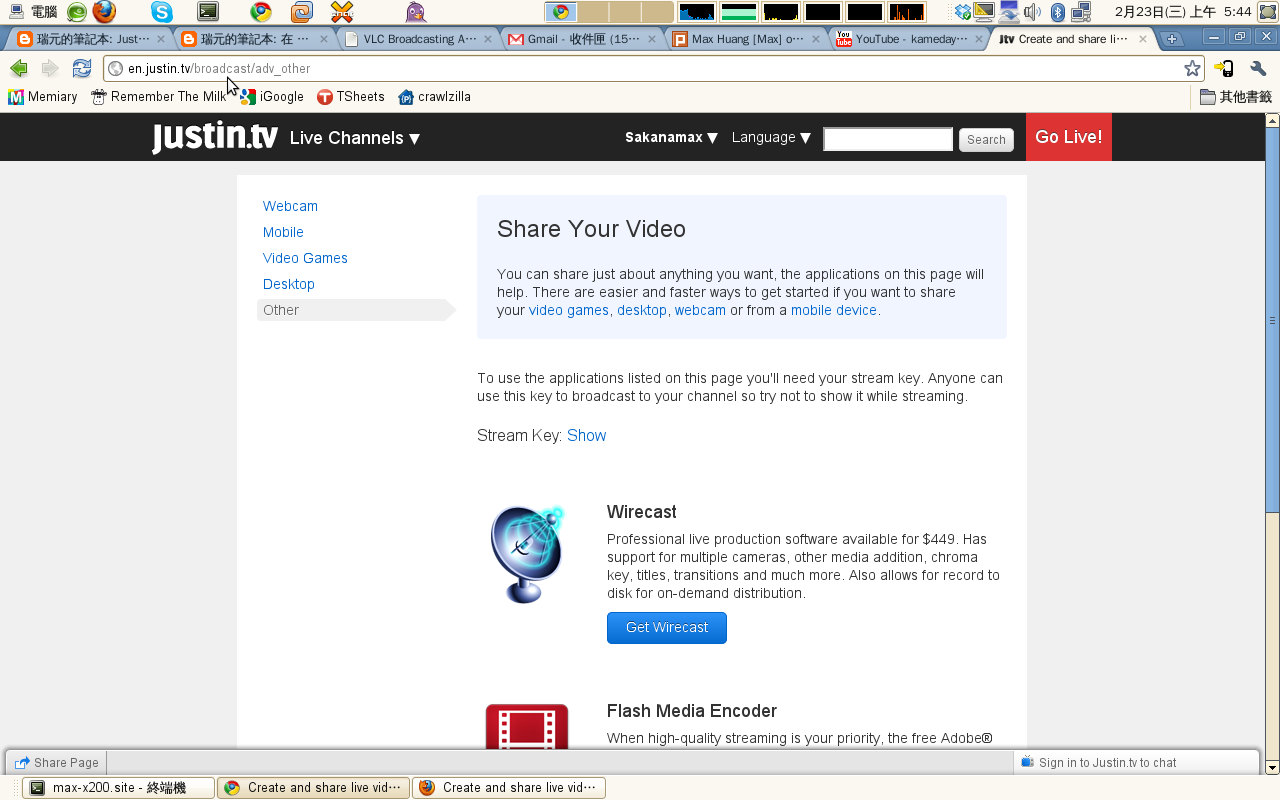
有關於桌面的分享, 在 justin.tv 網站上面 ( http://www.justin.tv/broadcast/adv_desktop )
沒有看到有關於 Linux 的桌面分享 ^^
這個部份目前正在研究使用兩個方案來解決
1. WebCamStudio
  • 官方網站上面說明,如果用 FME 2.5 的XML 設定還是可以直播,但是我目前測試的結果還沒有成功, 目前網站上面只提供 FME 3的 xml檔案.

2. Jtvlc
  • 結合 VLC 來直播
  • 影片直播已經成功, 目前嘗試桌面直播


*** Jtvlc ***
看起來是 Justin.tv 對於 Linux比較正式支援的 API

VLC Broadcasting API
下載 Jtvlc
http://apiwiki.justin.tv/mediawiki/images/2/24/Jtvlc-lin-0.41.tar.gz
解壓縮到 /opt  資料夾下 為了方便等下使用 Justin.tv GTK+ frontend
#tar  zxvf  Jtvlc-lin-0.41.tar.gz   -C  /opt
將 資料夾名稱變更為 jtvlc
#mv   /opt/jtvlc-lin-0.41    /opt/jtvlc
安裝 vlc - VLC - Video Lan Client
以及 vlc-gnome - VLC: VideoLAN Client - Gnome Access Modules
利用套件管理程式安裝相關套件
這邊以 openSUSE 11.3 為例
#zypper  install   vlc   vlc-gnome
下載 Justin.tv GTK+ frontend
解開 gtk-jtvlc.tar.bz2 (openSUSE 一般使用者的提示符號為 >)
>tar   jxvf    gtk-jtvlc.tar.bz2
進入解開的資料夾
>cd  gtk-jtvlc
開始編譯套件
>make
將桌面 串流到 Justin.tv
在執行之前, 必須取得個人的 stream key
取得Stream key
點選 顯示(Show)
啟動 VLC 以下指令在同一行 (串流桌面,但是不串流聲音)
>vlc  -vvv screen://  --sout='#transcode{vcodec=h264,vb=300}:rtp{dst=127.0.0.1,port=1234,sdp=file:///tmp/vlc.sdp}' --sout-transcode-width 480 --sout-transcode-height 270 2>/dev/null
如果要包含聲音的話 啟動 VLC 以下指令在同一行 (串流桌面,包含串流聲音)
>vlc -vvv screen:// --audio-desync 0 --input-slave=alsa://plughw:0,0 --sout='#transcode{vcodec=h264,vb=300,acodec=mp4a,ab=128,channels=2,samplerate=44100}:rtp{dst=127.0.0.1,port=1234,sdp=file:///tmp/vlc.sdp}' --sout-transcode-width 480 --sout-transcode-height 270 2>/dev/null
如果要串流影片
>vlc 檔案位置 -vvv input_stream --sout='#duplicate{dst="transcode{venc=x264,vcodec=h264,vb=800,acodec=mp4a,ab=128,channels=2,samplerate=44100}:rtp{dst=127.0.0.1,port=1234,sdp=file:///tmp/vlc.sdp}"}'
執行 gtk-jtvlc
>./gtk-jtvlc
於 account 輸入 justin.tv 內的帳號
於 Stream Key 輸入剛剛取得的 Stream key
點選 Enable streaming
開始串流
再次感謝 瑞元 的大力協助 
參考
*瑞元的筆記本
可以完成 影片直播到 Justin.tv
*批踢踢實業坊看板