Gemini CLI with MCP 小記
OS: macOS 14.3
gemini-cli 0.1.12
今天要來實作 Gemini CLI 使用 MCP
首先 可以參考 Gemini cli 官方文件 裡面有提到 MCP 相關設定
https://github.com/google-gemini/gemini-cli/blob/main/docs/tools/mcp-server.md
You can configure MCP servers at the global level in the ~/.gemini/settings.json file or in your project's root directory, create or open the .gemini/settings.json file. Within the file, add the mcpServers configuration block. 所以相關的設定檔會放在 settings.json 內, 就看是要放在家目錄的全域設定檔, 還是在該專案目錄套用
如果 gemini cli 還沒安裝 MCP
在執行 /mcp 指令的時候, 會被提示去參考官方文件

這次的實作我是在專案目錄內建立 .gemini/settings.json
內容如下
{
"mcpServers": {
"google-maps": {
"command": "npx",
"args": [
"-y",
"@modelcontextprotocol/server-google-maps"
],
"env": {
"GOOGLE_MAPS_API_KEY": "<YOUR_API_KEY>"
}
}
}
}
將啟用的 Google Maps API Key 替代上方的 <YOUR_API_KEY>
可參考之前的筆記 - vscode insiders with google-map mcp 小記
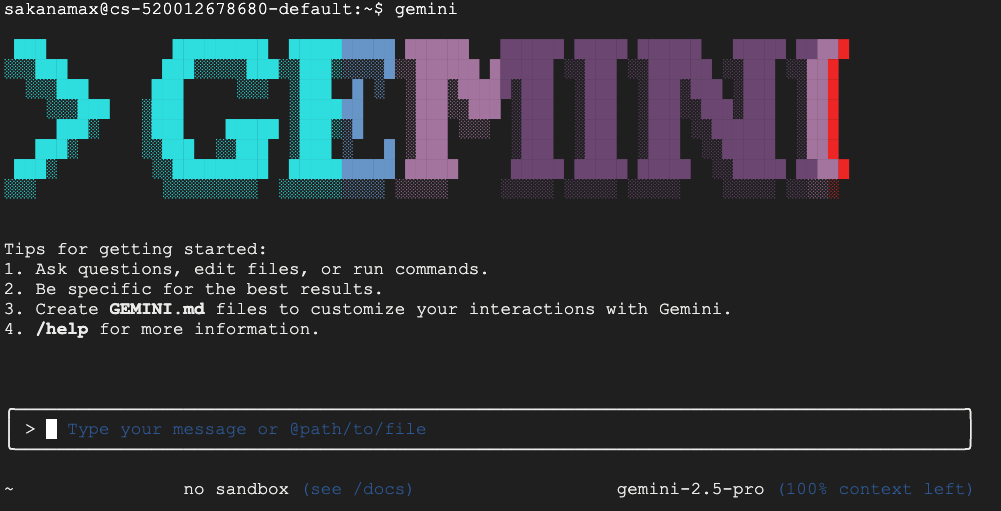
重啟執行 Gemini CLI
就可以在介面中看到相關資訊與使用 MCP

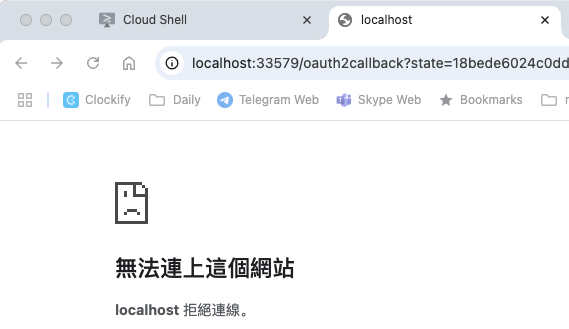
一樣, 在執行功能的時候, 會要求允許相關執行權限
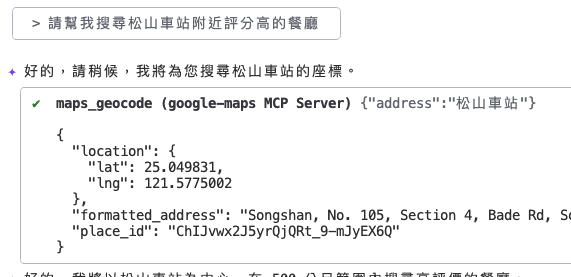
最後輸出結果參考
✦ 好的,我找到了一些松山車站附近評價很高的餐廳:
* Balle Balle Indian Restaurant & Bar 巴雷巴雷 印度餐廳 (評分: 4.9)
* 犟餐酒館 (評分: 4.8)
* À POINT STEAK & BAR (評分: 4.7)
* JK STUDIO 法式餐酒館 (台北信義店) (評分: 4.7)
* Cochon (評分: 4.7)
* Modern Toilet Theme Restaurant (評分: 4.7)
* MUSA Bistro《芭花家餐酒館》 (評分: 4.7)
* de nuit (評分: 4.7)
* Top One Pot Xinyi Restaurant (評分: 4.7)
* Restaurant Page 頁小館 (評分: 4.6)
* Mayur Indian Kitchen Restaurant (MIK-2) (評分: 4.6)
* Tutto Fresco翡冷翠義式餐廳 (評分: 4.6)
* 1001 Nights Kitchen Taipei (評分: 4.5)
* Pikul Xinyi Xiangshan Branch (評分: 4.5)
* The Tavernist (評分: 4.5)
* Le Beaujour 芃卓-高訂宴會服務 (評分: 4.5)
* 85TD (評分: 4.4)
* 30 thirty (評分: 4.4)
* LAY BACK (評分: 4.4)
* The Ukai Taipei (評分: 4.3)
如果您想了解其中任何一家餐廳的更多資訊(例如地址、電話號碼或營業時間),請告訴我。
==== 同場加映 gemini cli 升級 ====
Gemini CLI 最近改版的速度很快, 記錄一下 升級方式
觀察目前 gemini cli 最新版本
% npm view @google/gemini-cli version
0.1.12
觀察目前安裝的 gemini cli 版本 (全域)
% npm list -g @google/gemini-cli
/opt/homebrew/lib
└── @google/gemini-cli@0.1.9
目前為 0.1.9
將 gemini cli 升級到最新版本
% npm install -g @google/gemini-cli@latest
=====================
感覺又邁進一步
~ enjoy it
References